Arancini + the best snackboard ever
Whenever I think of Arancini, I think of a really good childhood friend + her very Italian family. She was from the kind of Italian family that is so connected to their roots it honestly makes you a little bit jealous. From the food to language to how they celebrated to the mannerisms - it was all just a slightly more exciting shift from my very white-bread household and I always thought it was so cool. Being so connected with your background and traditions just always made me a little envious. And it kept me so excited to go to any family party I was invited to.
The thing you can’t gloss over is the food. The spread was always incredible. So much really delicious food + (for me) an introduction to things I’d never seen before. A family party at her house was my first experience with arancini - something that was so foreign to me. I have a vivid memory of her telling me it was one of her favorite things her Nonna made. Hers were perfectly golden brown + stuffed with cheese and at least one pea (I remember peas were involved). They stood out to me as being so fancy + “such a treat.” Arancini talk has come up at our house more recently as they’ve become something we always order when we see them on a menu, and the conversation eventually steers to “we’ve got to try to make these ourselves.” So we did! Dedicated a cozy weekend at home to making Arancini + the best snackboard ever and binging the final episodes of Stranger Things.

A 2 day process
Making arancini was a full weekend, 2 day event. With that said, it was still fun + relatively simple - especially if you have a helper. Jordan was committed to doing it with me + helping me fry these babies up, and it made the process go by quite quickly. So I highly recommend making this a couples activity.
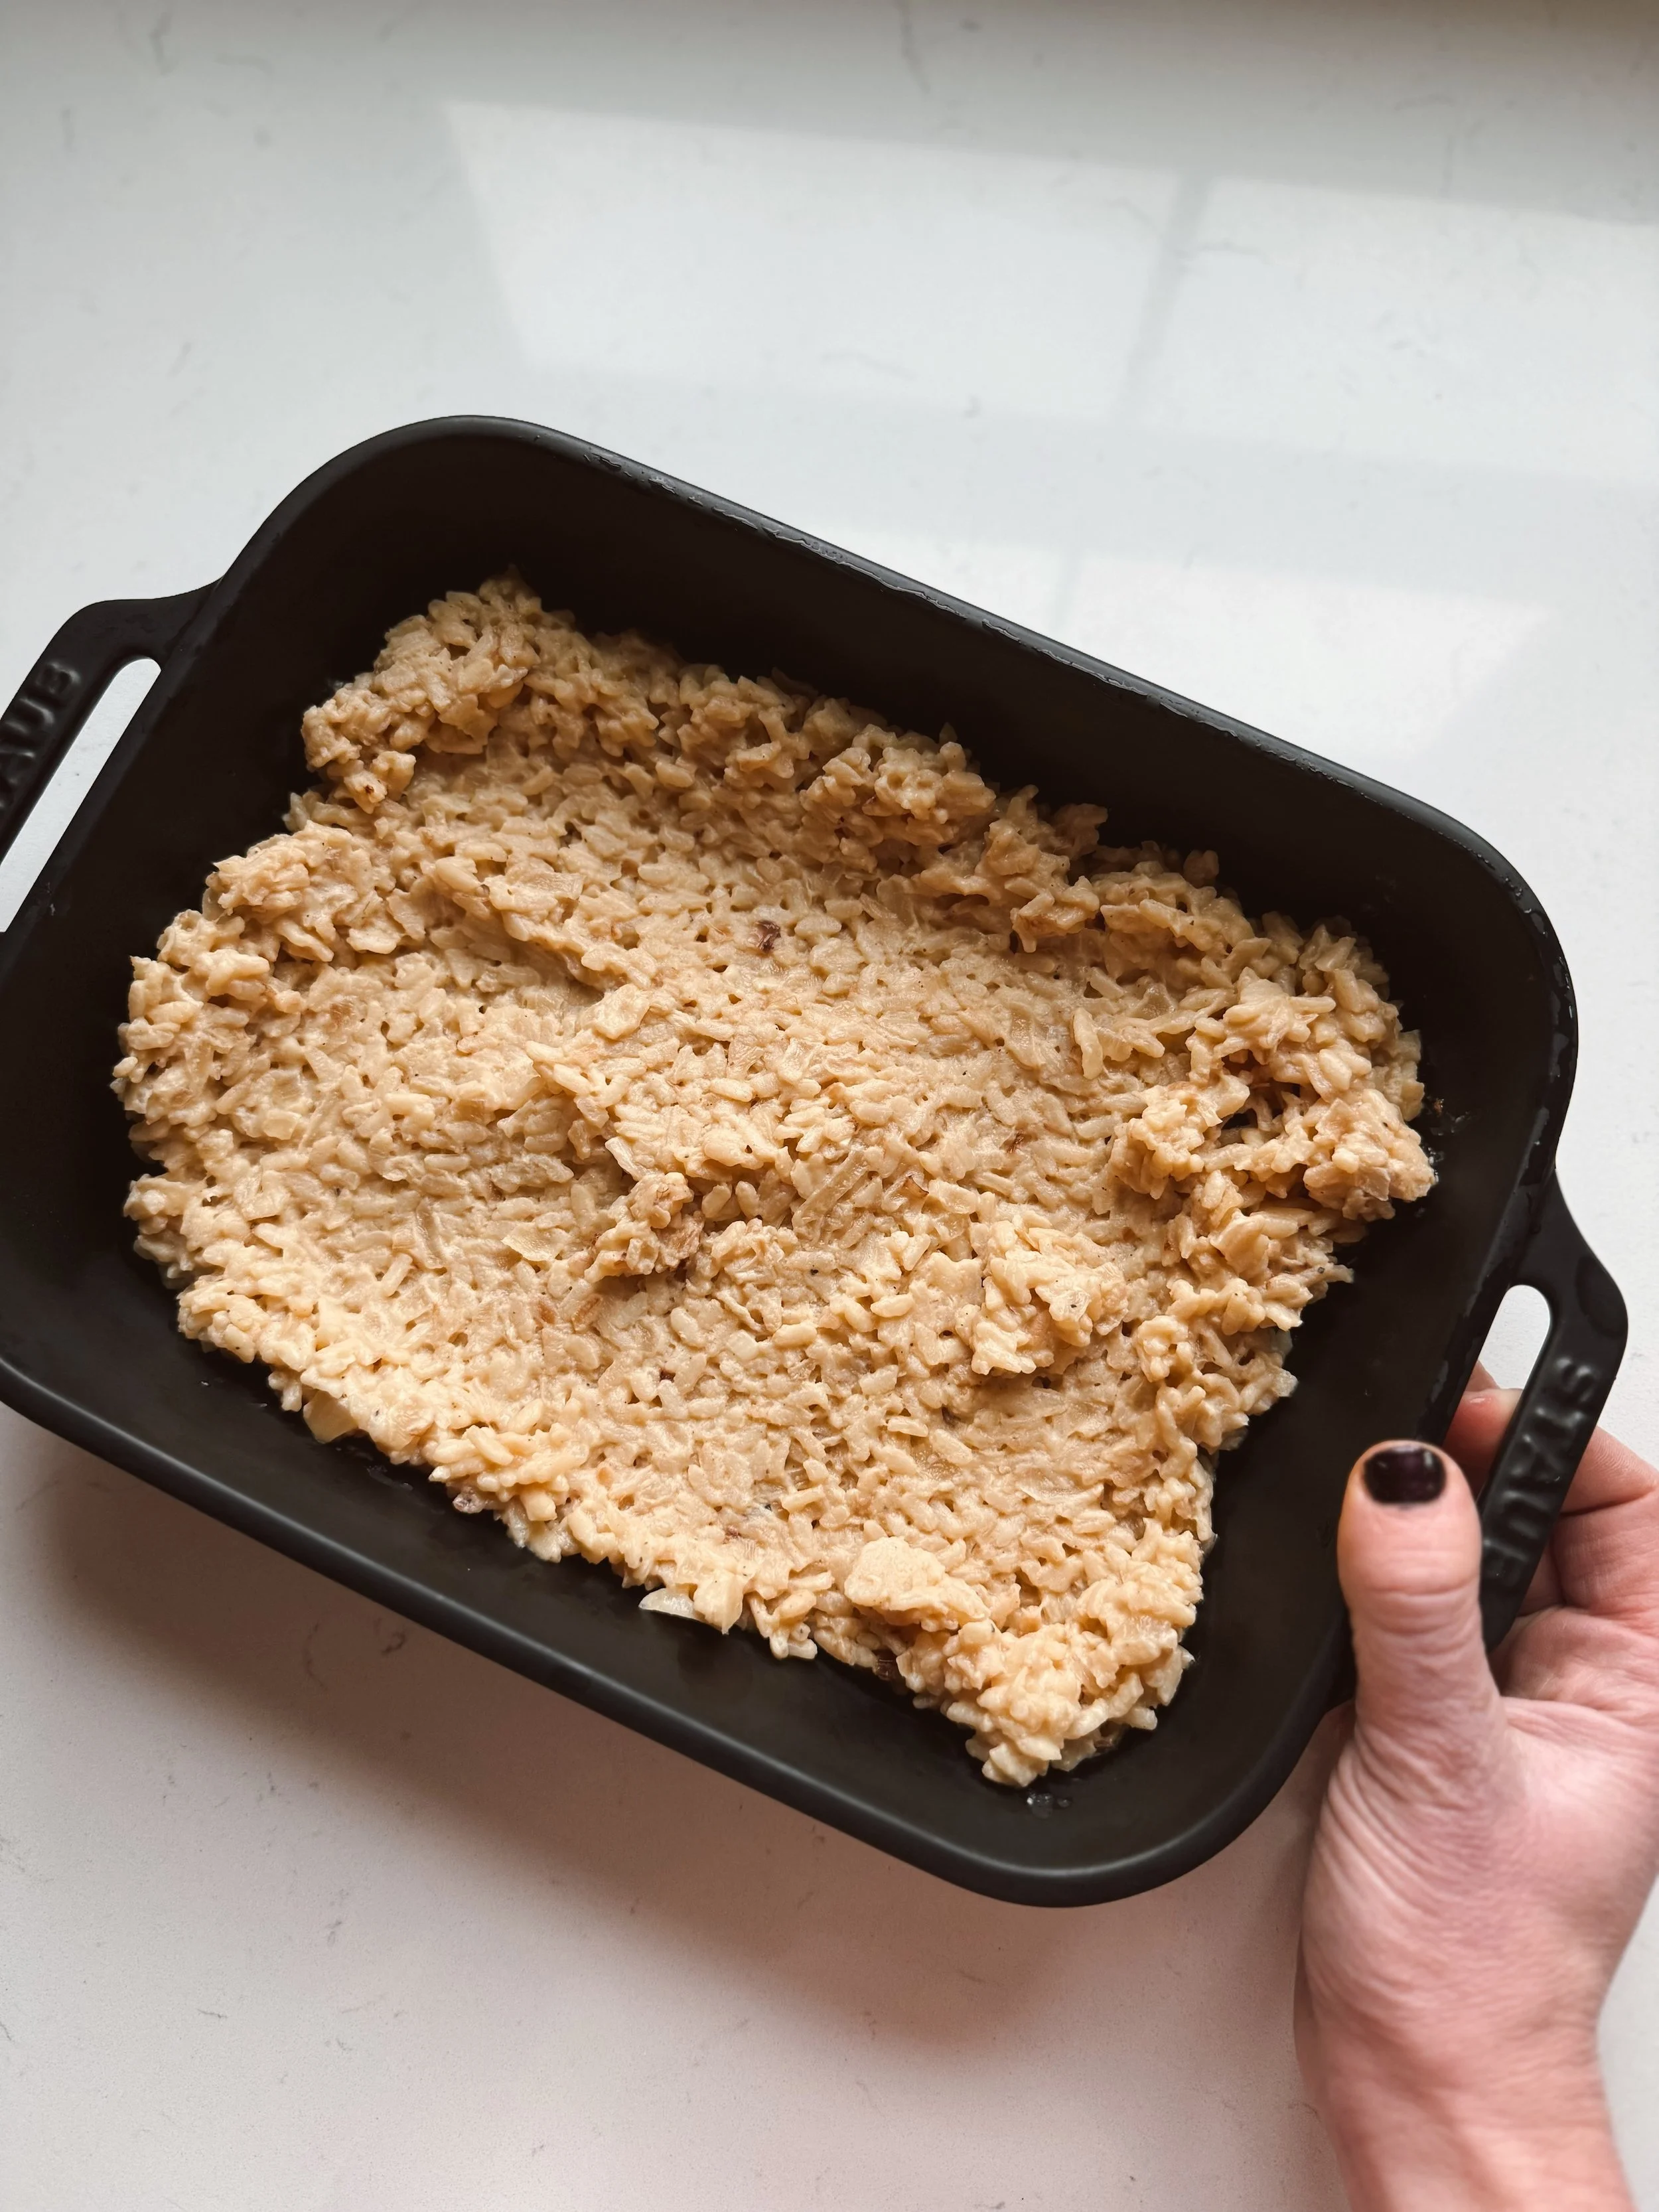
The 1st day you make the risotto, which I did on a Saturday afternoon after a workout + before going out on a little dinner date. Just me in my kitchen, some trash tv, and some very peaceful risotto making. Transfer the cooked risotto to a baking dish + let it chill overnight.
Day 2 is all action. Your getting your hands dirty, rolling out little arancini balls, doing some frying - it’s a jam packed hour and half. The forming the balls + dredging is the most time consuming part. Also the part that will make your hands very sticky. The key is to just block off enough time, go step by step, and focus on just getting the balls situated before worrying about frying.

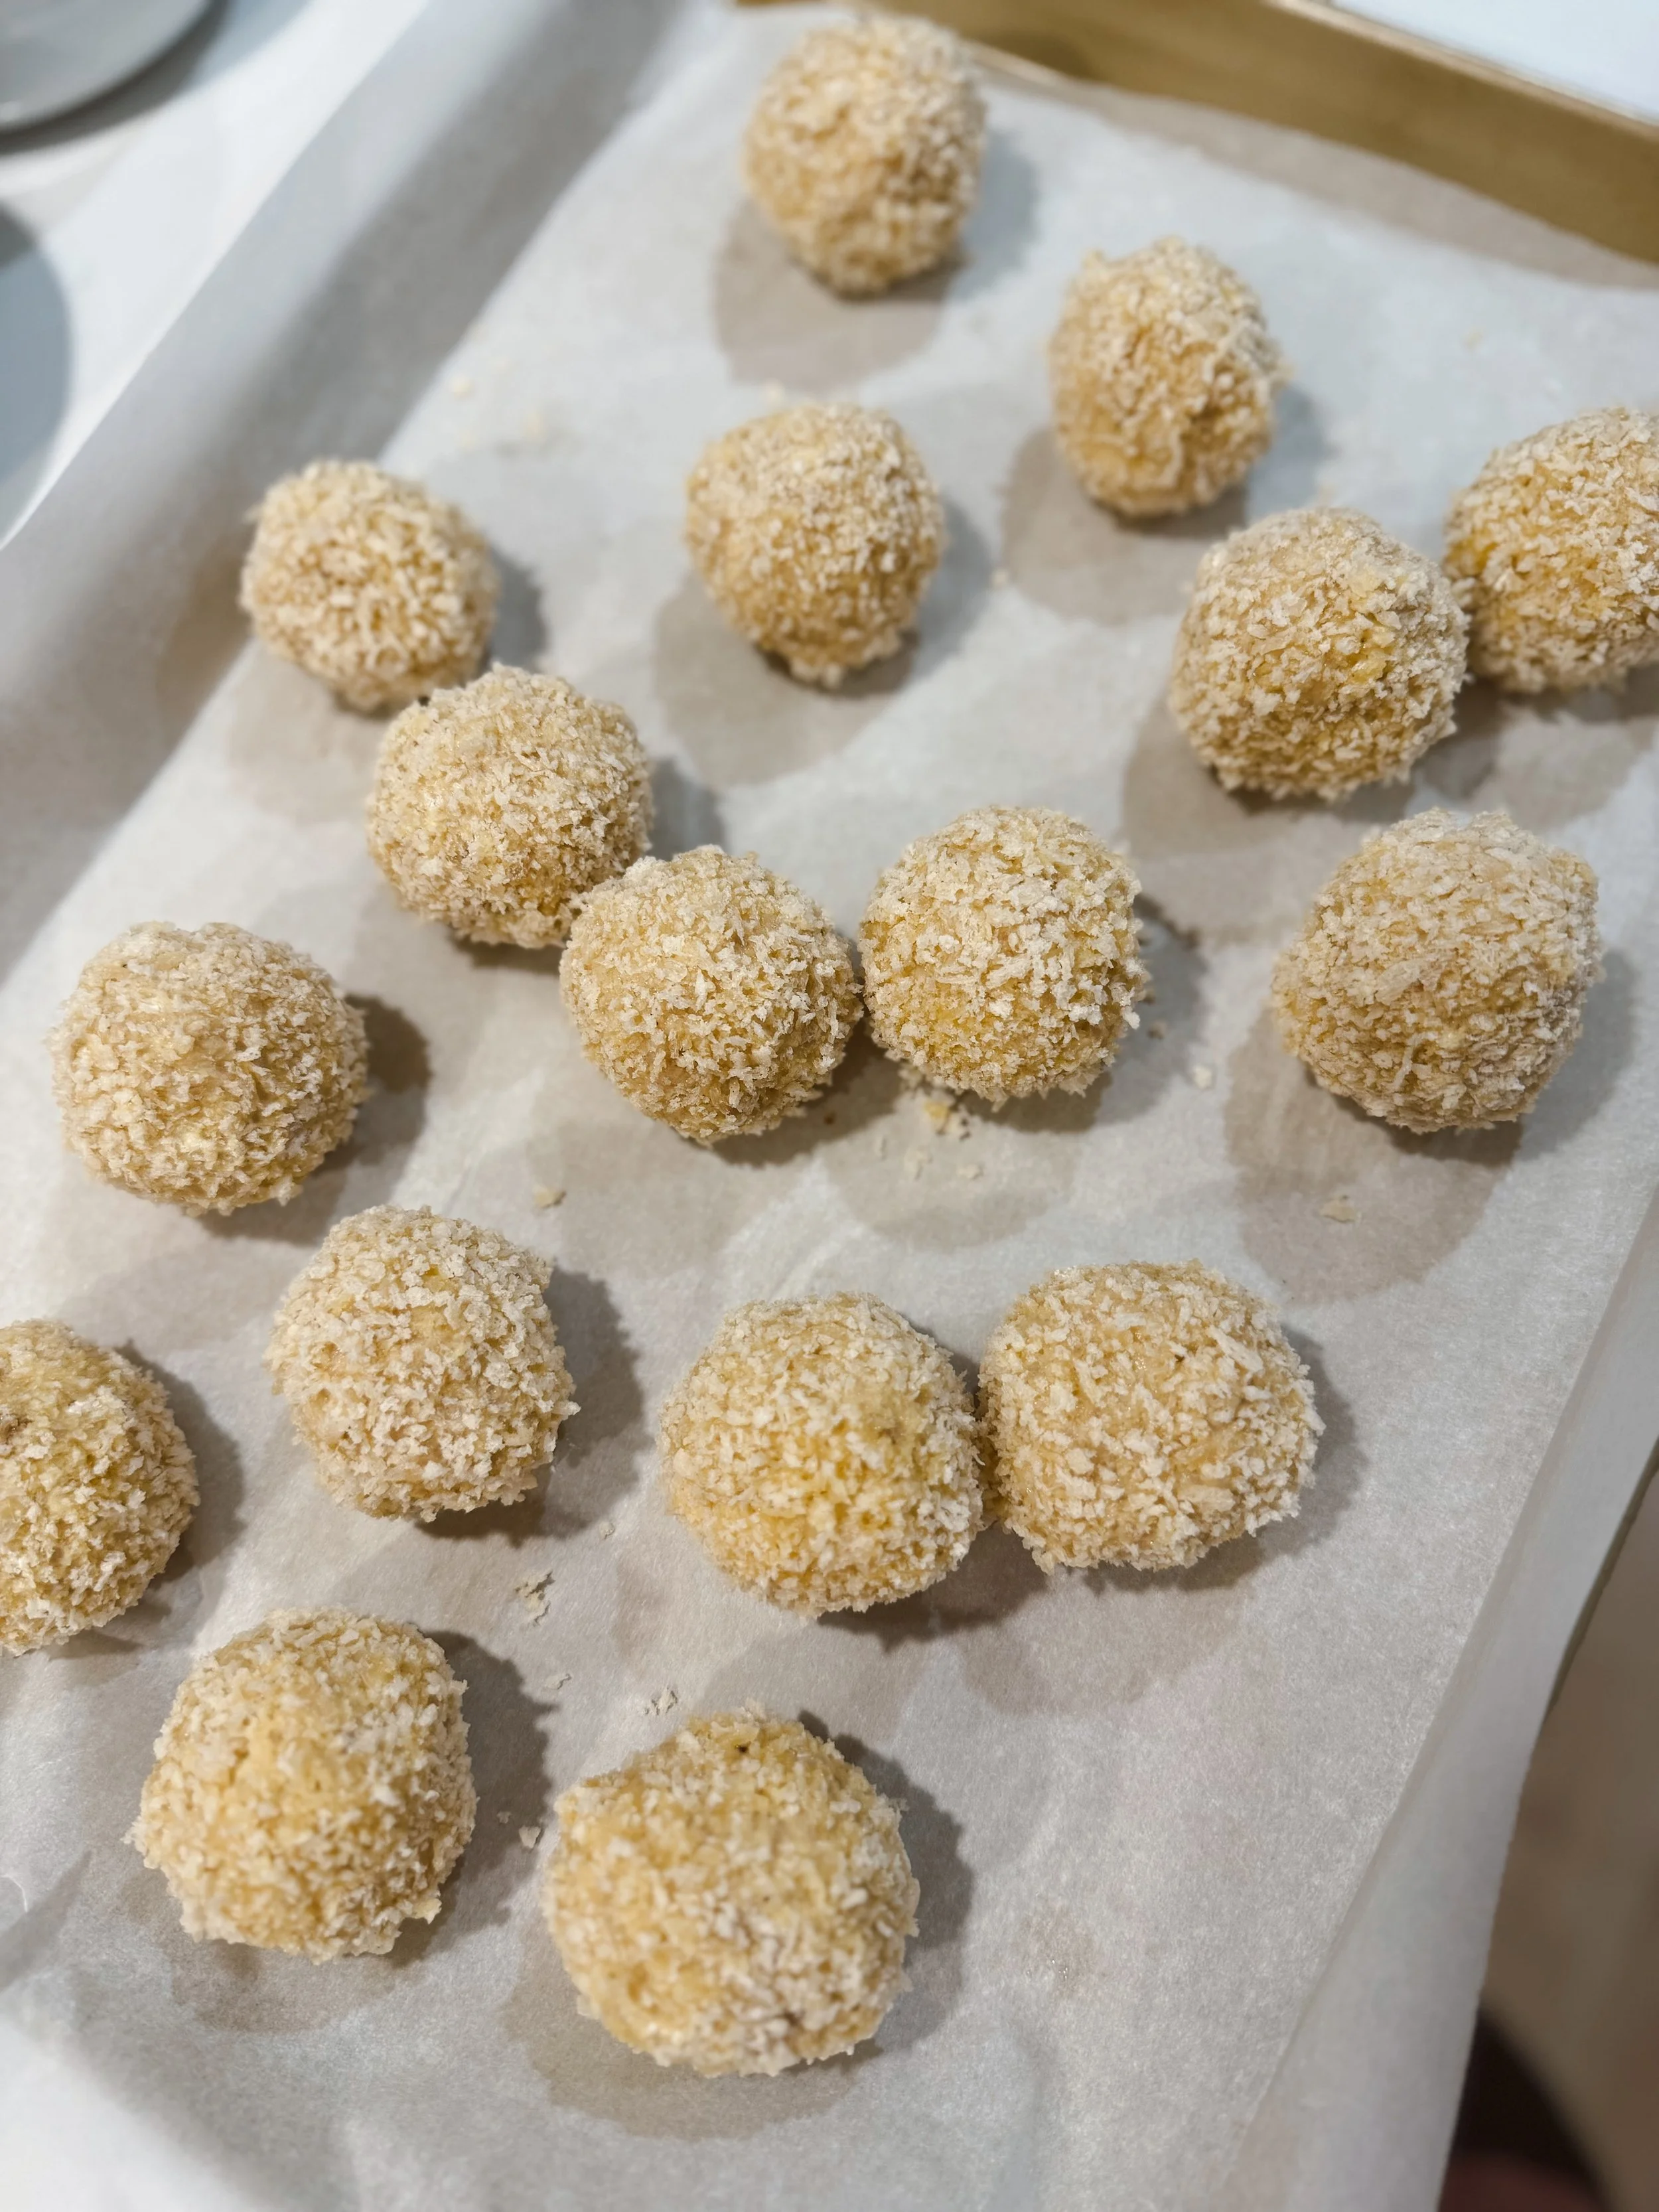
Surprisingly forgiving
The key - the frying. This is the final step + the crucial step to ensure you have perfectly browned arancini balls. Do a test bit - dropping in a little pinch of the arancicni + ensuring that when you drop that arancini in, the oil starts sizzling right away. If not, you’ve got to crank up the heat. Cook them until they’re perfectly a rich golden brown, taking on that classic "perfectly fried” color.
Make it a board
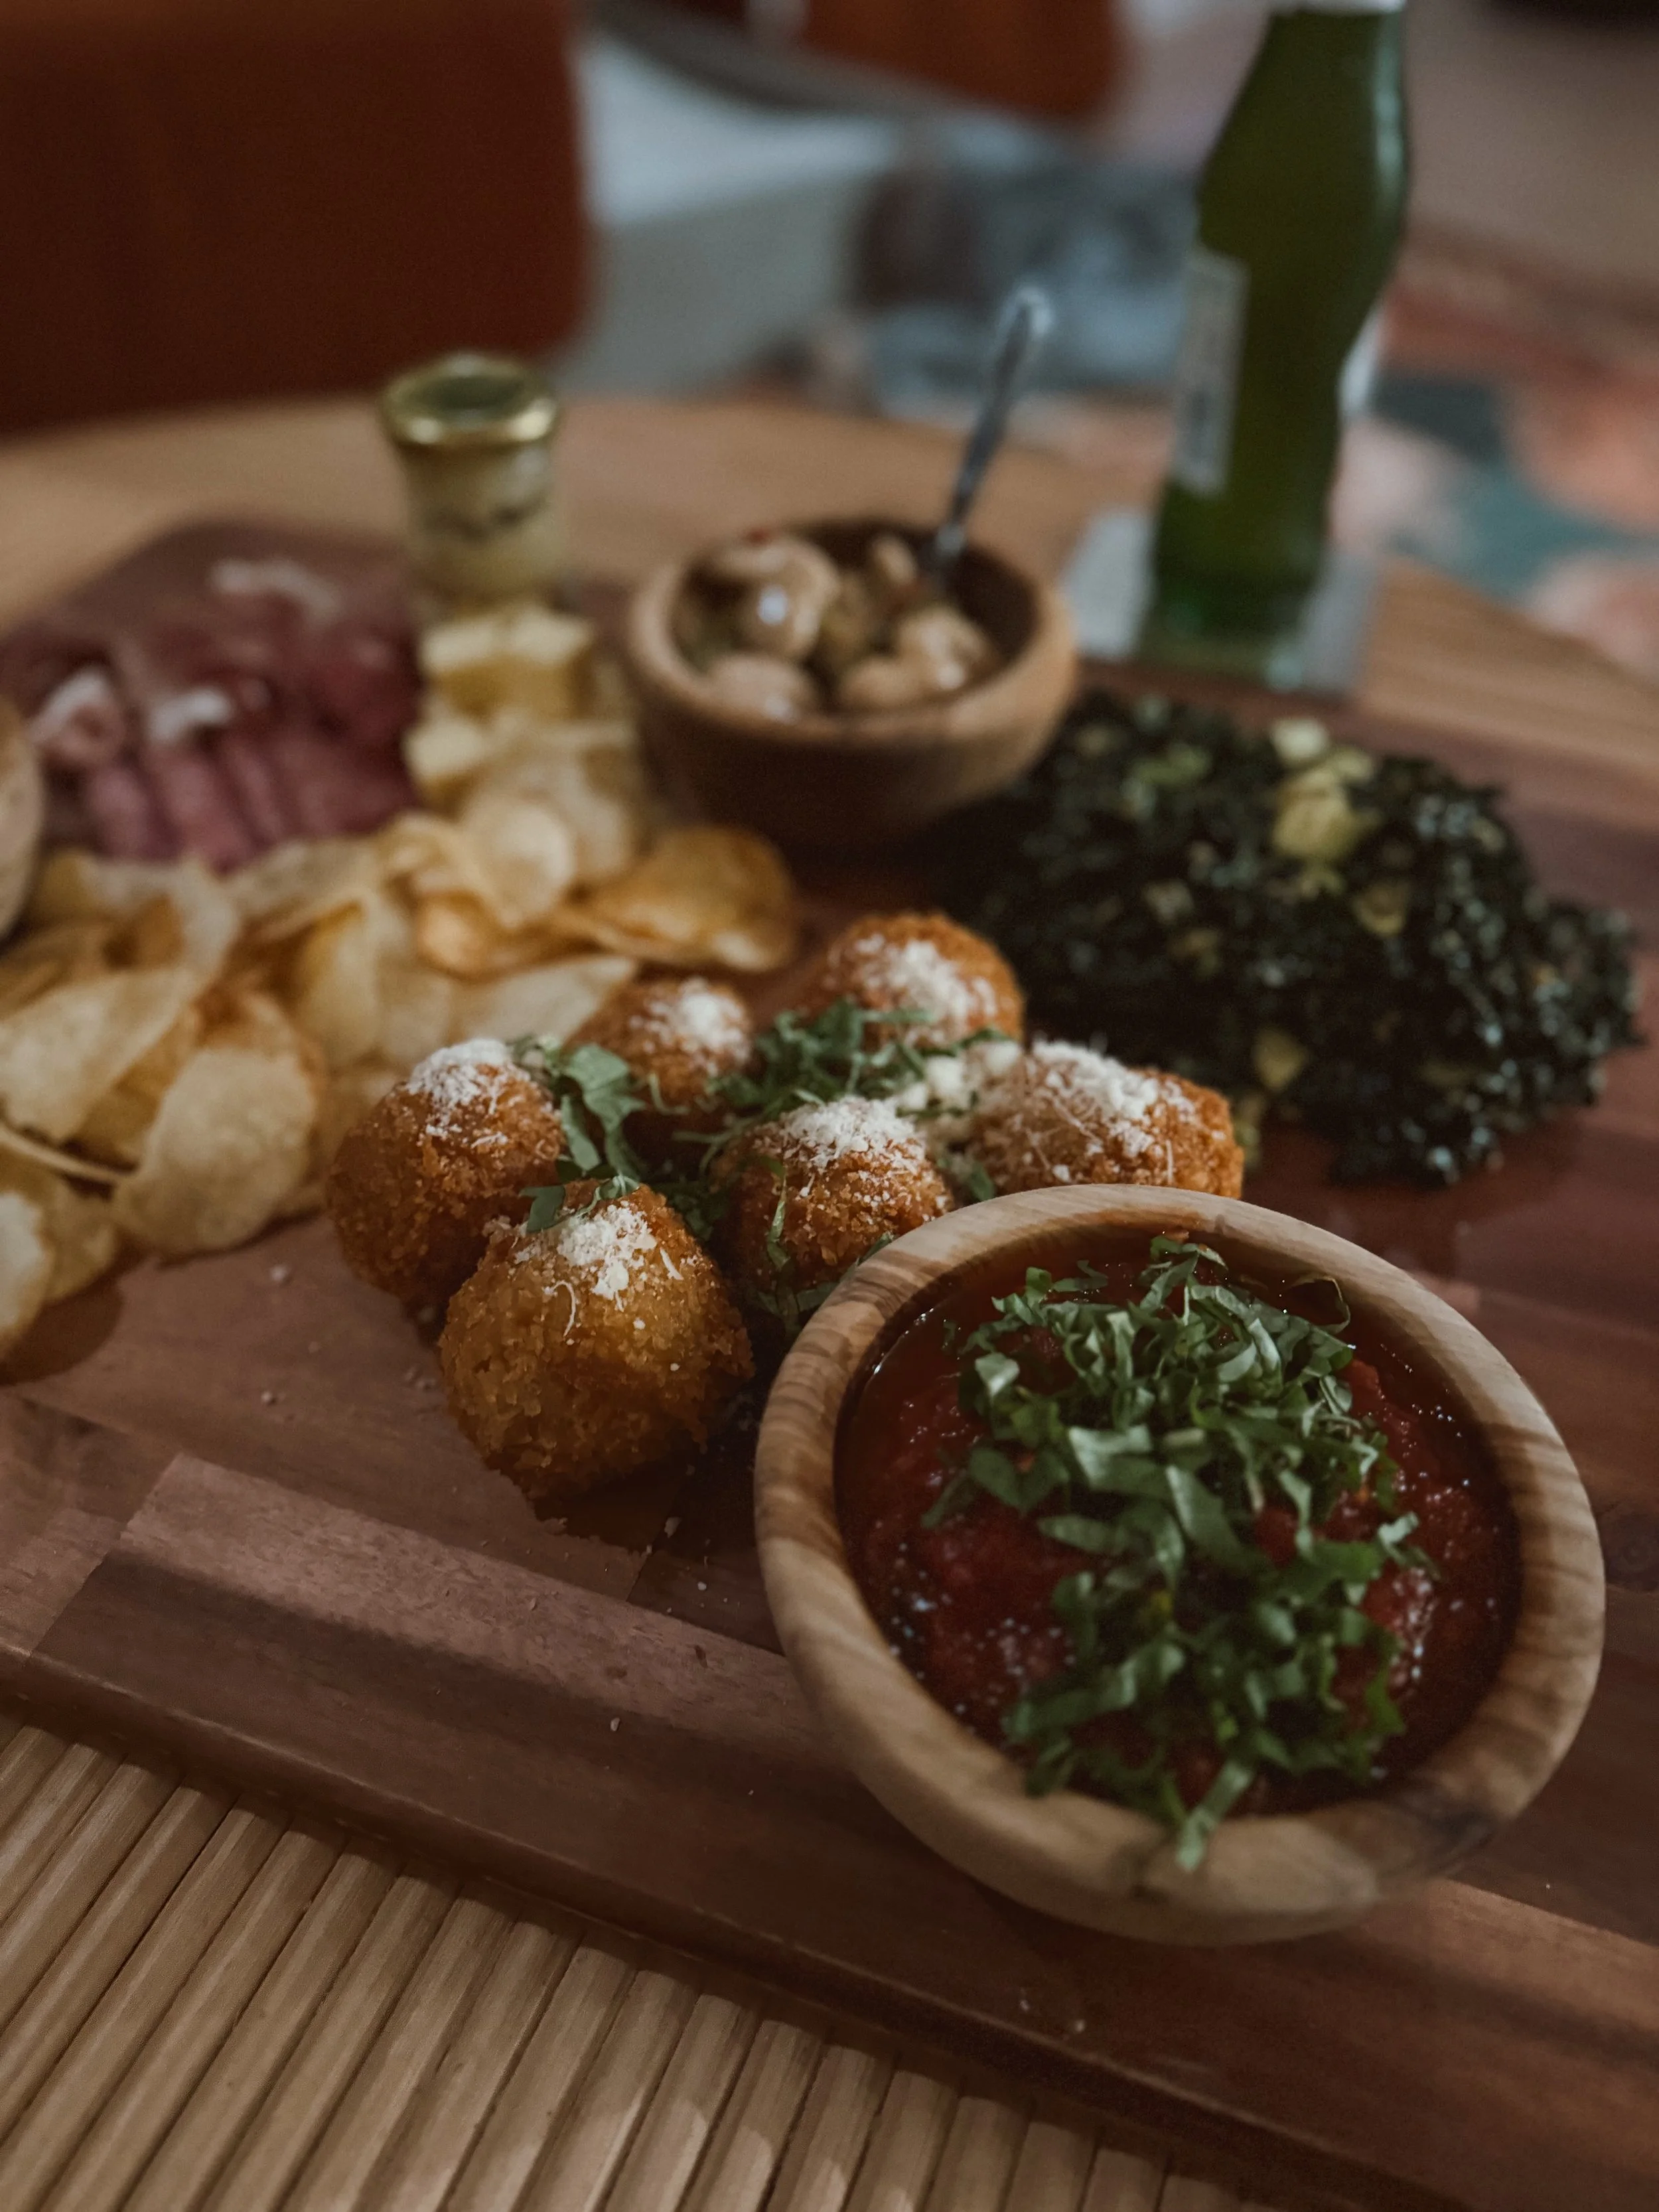
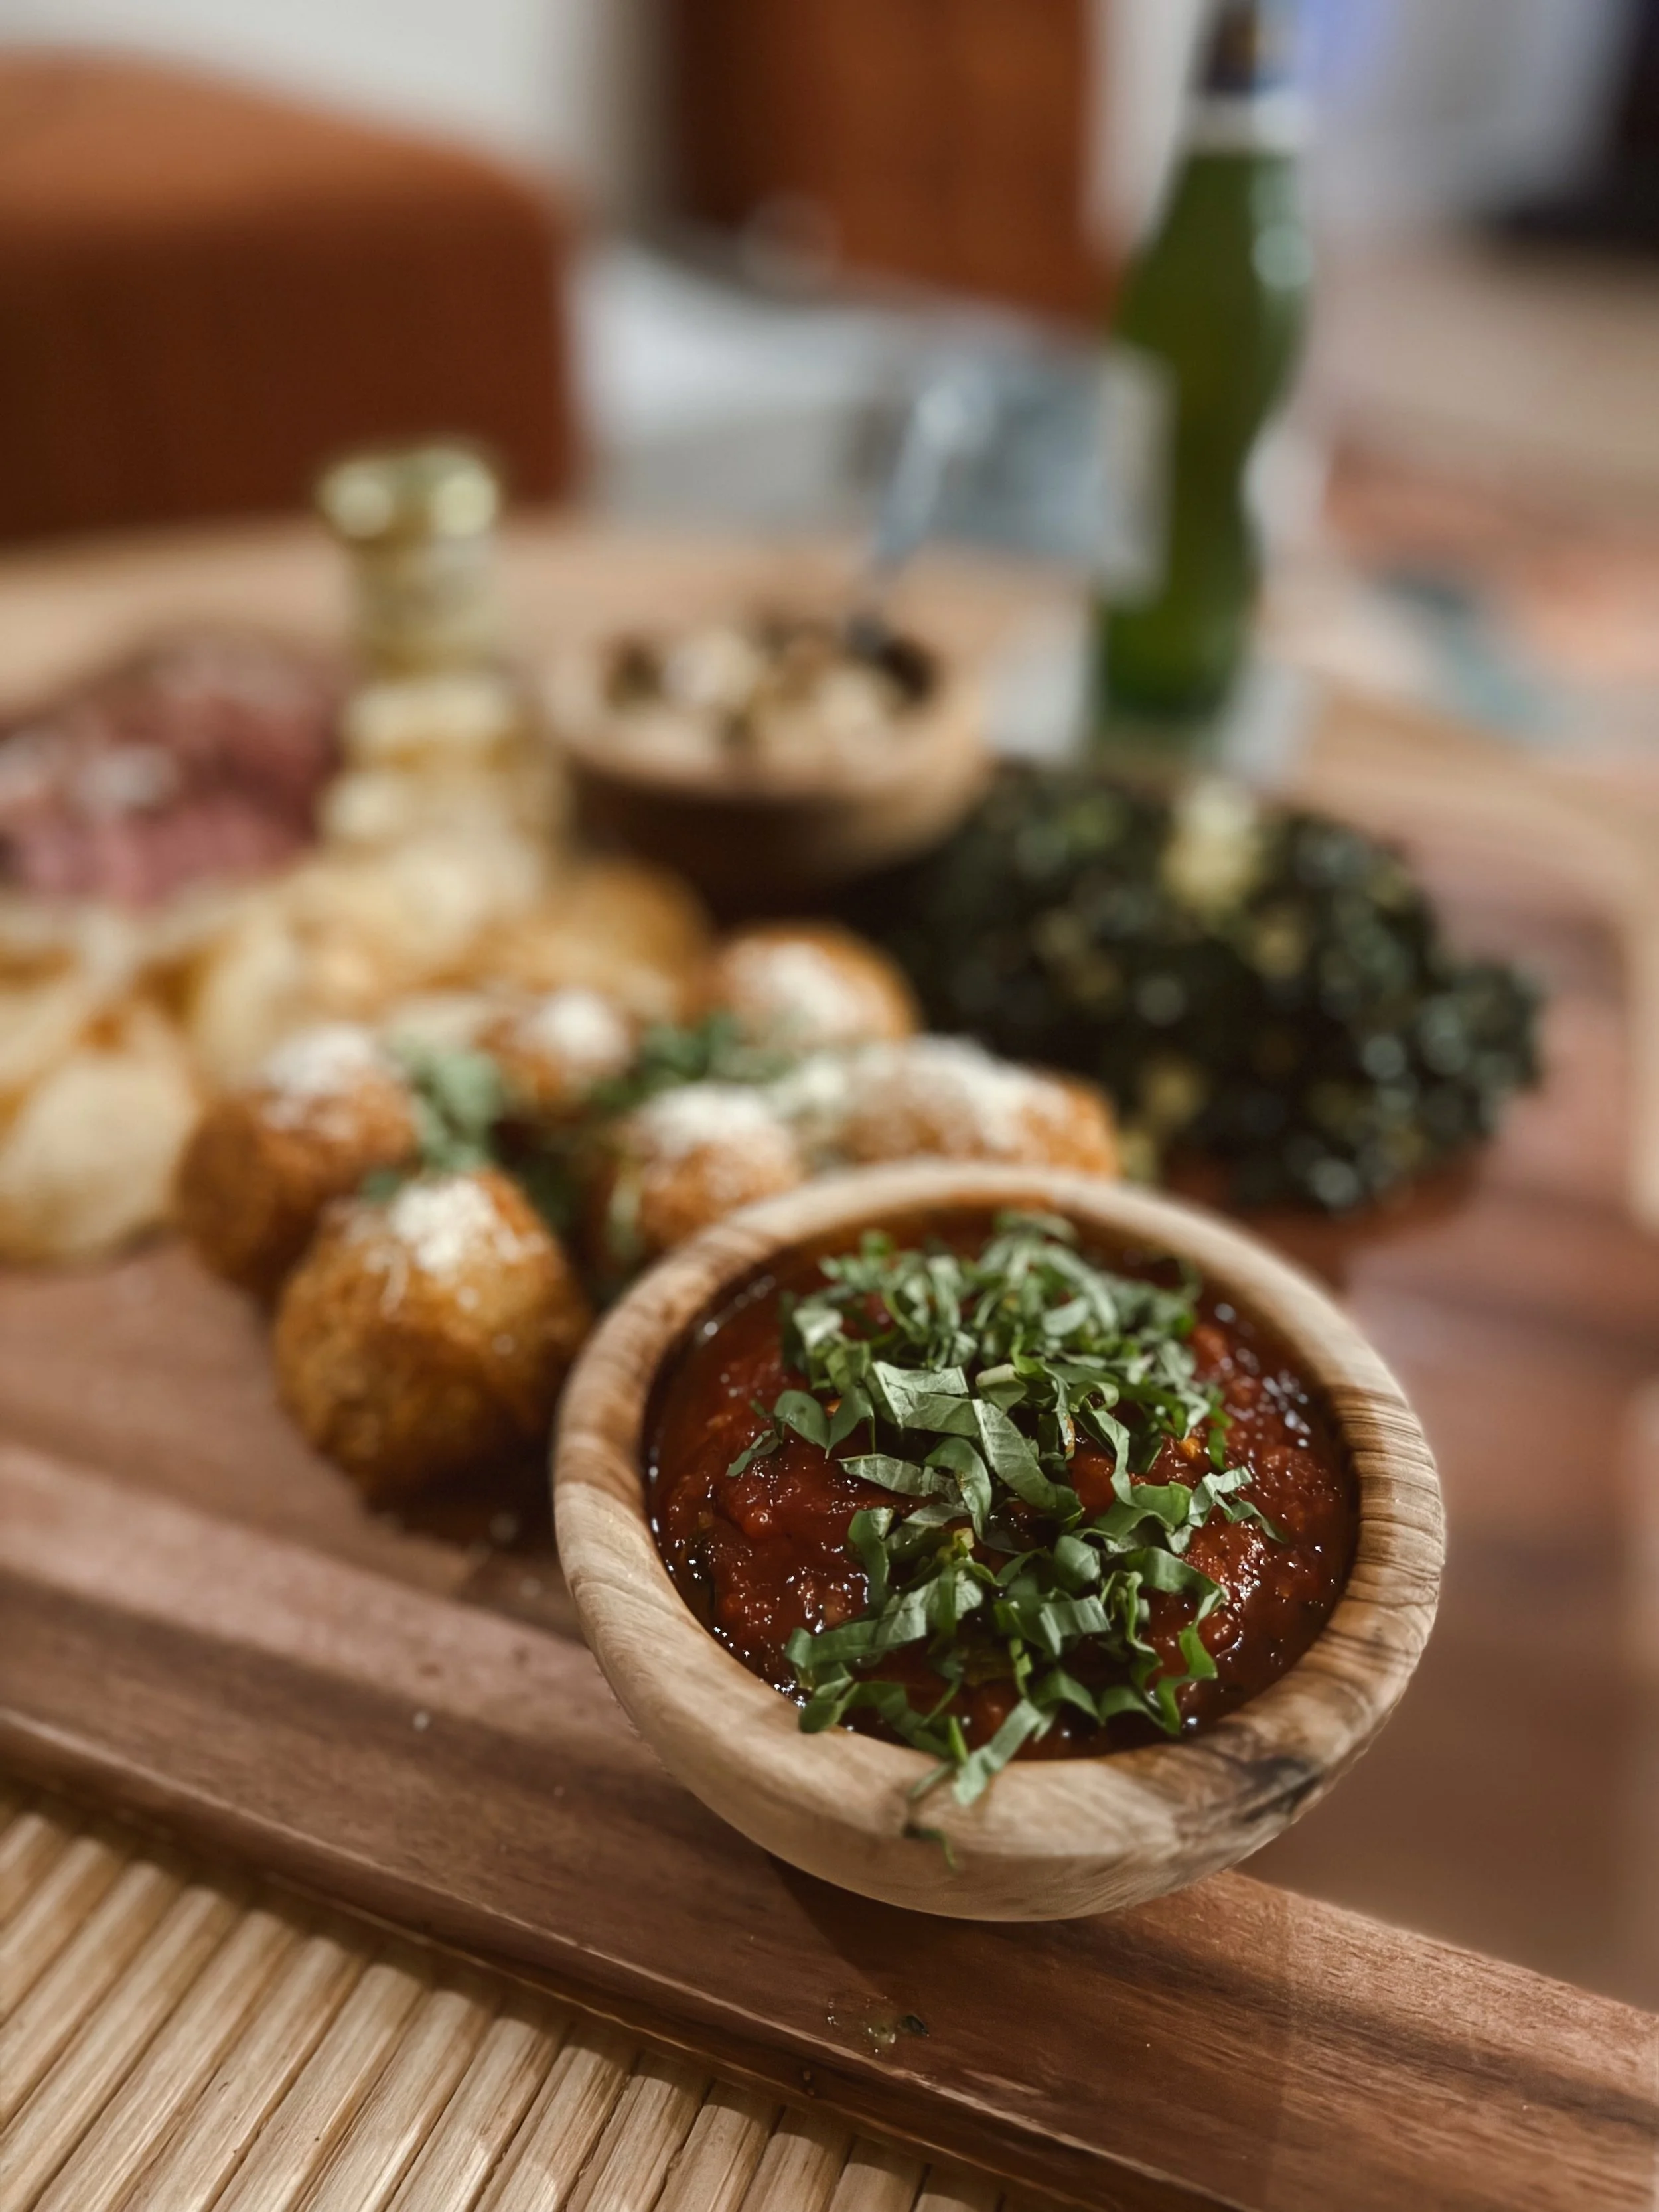
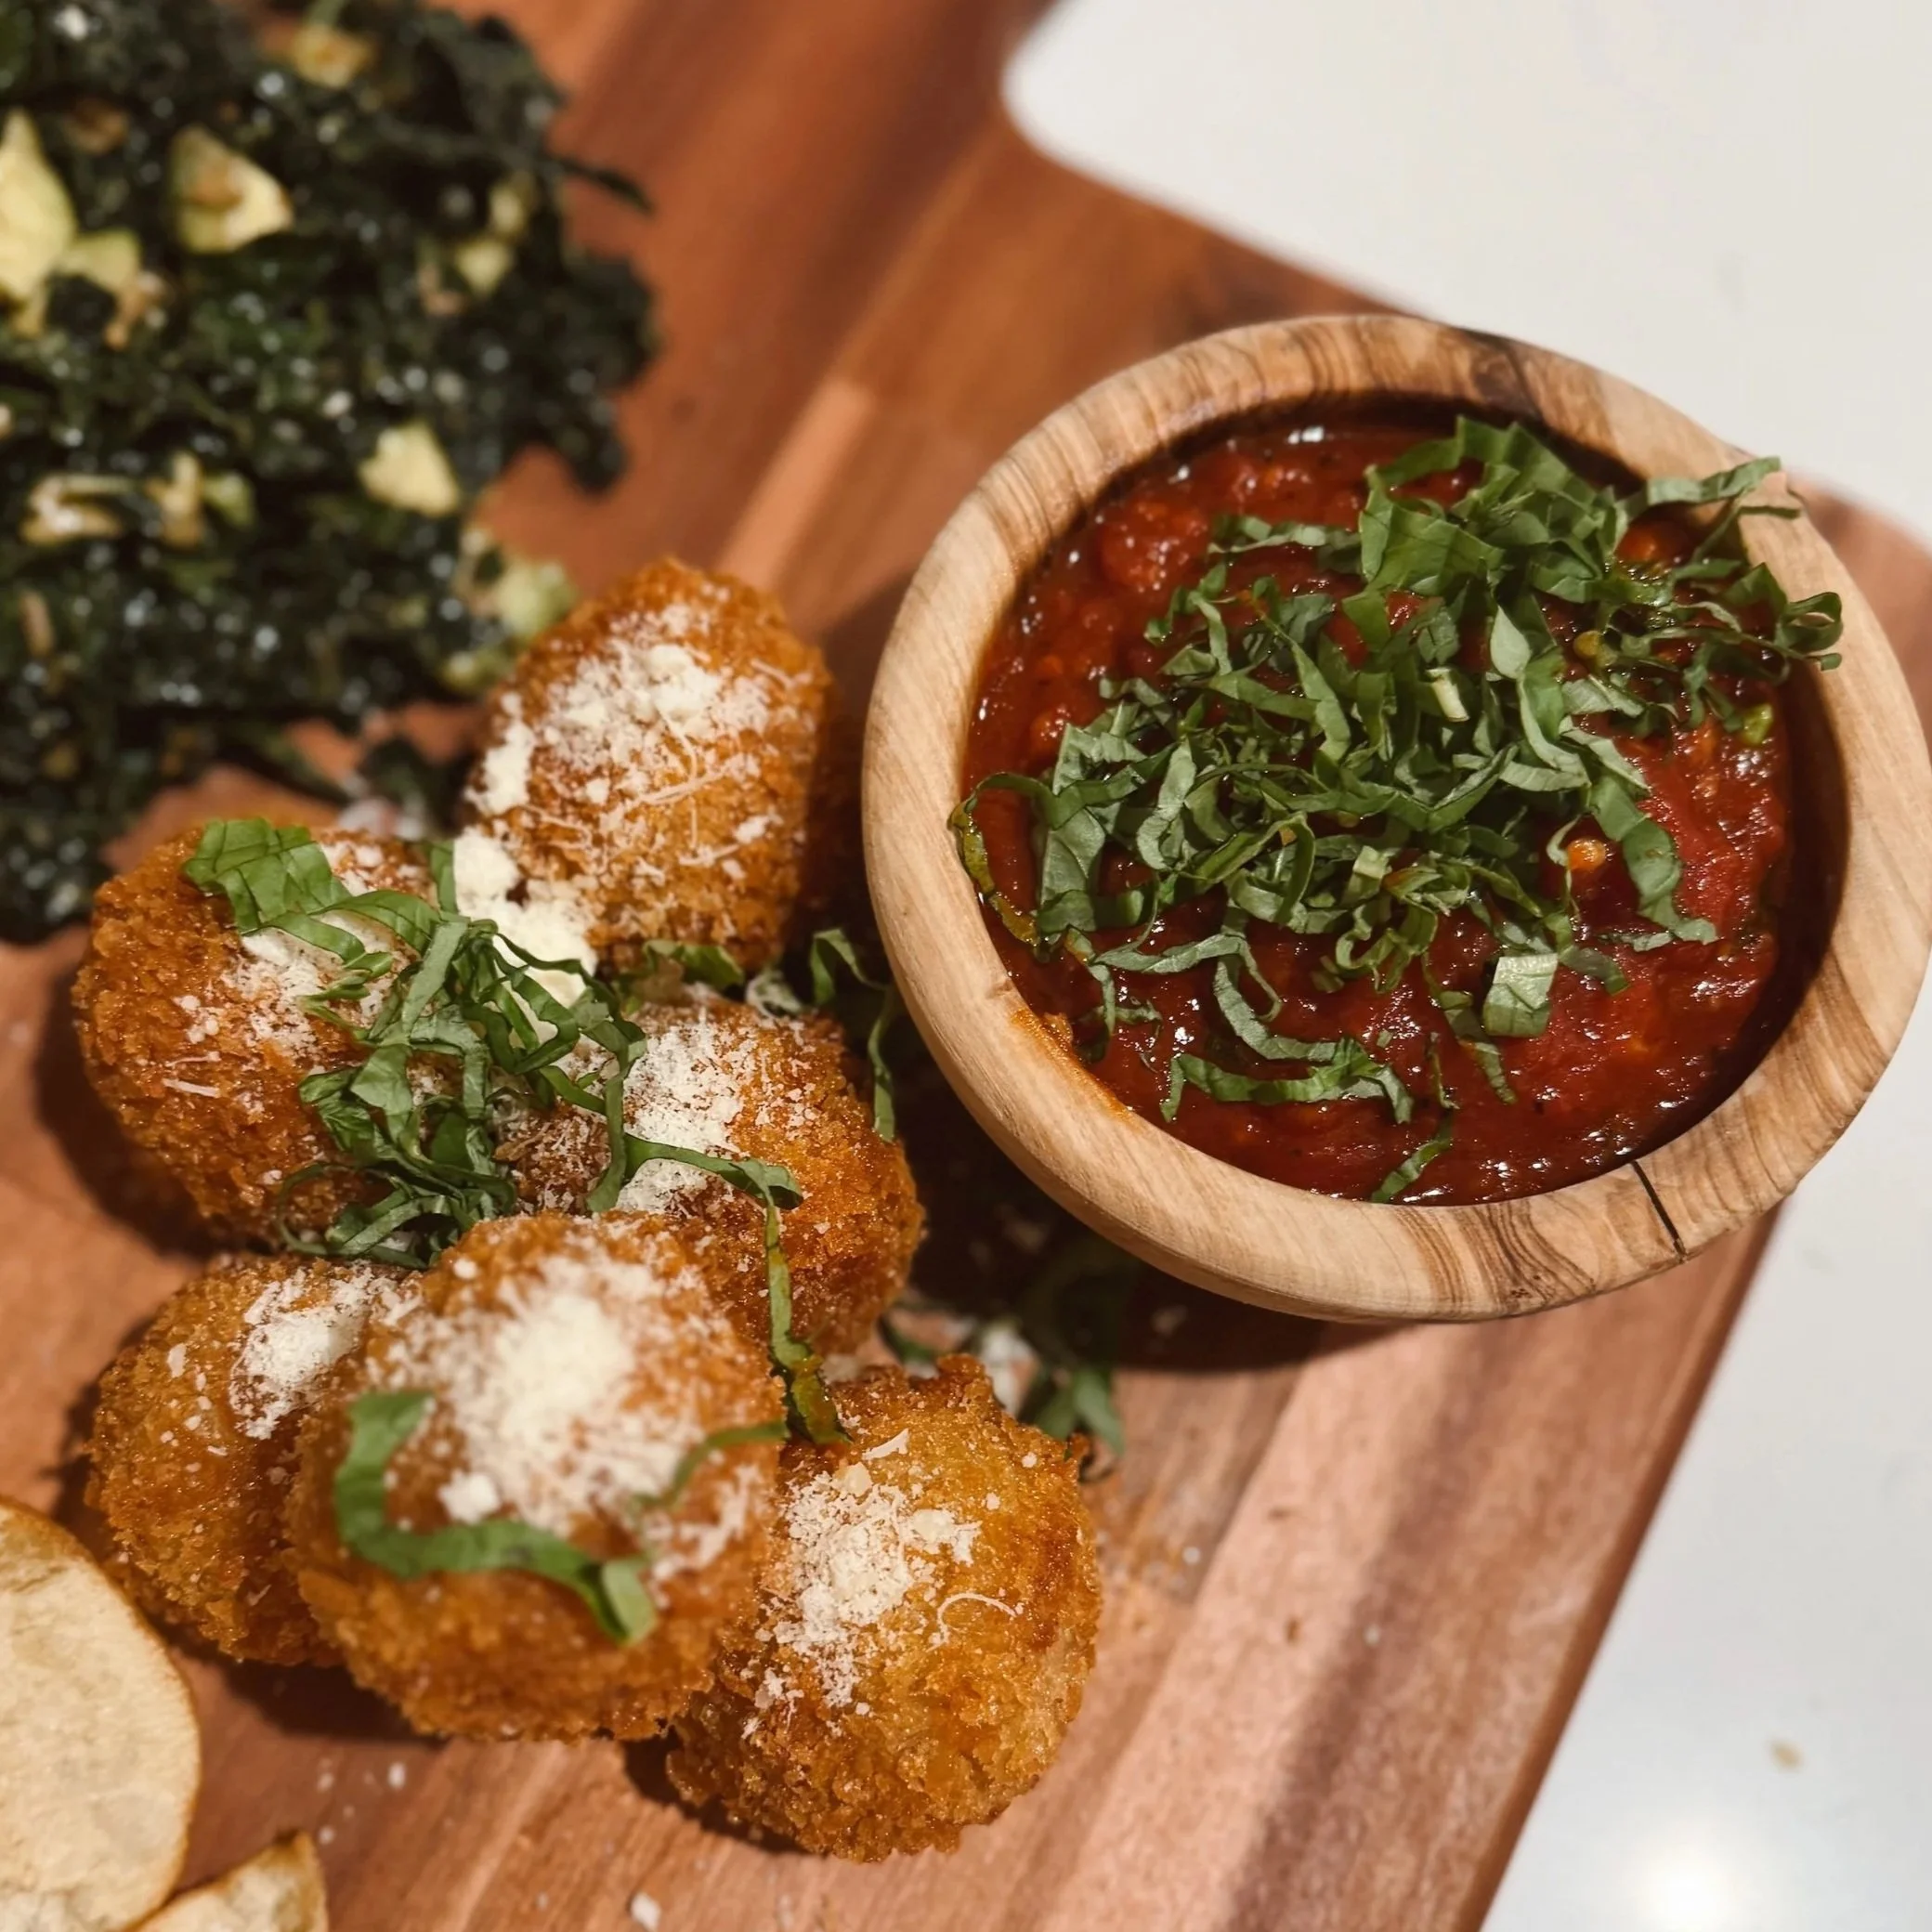
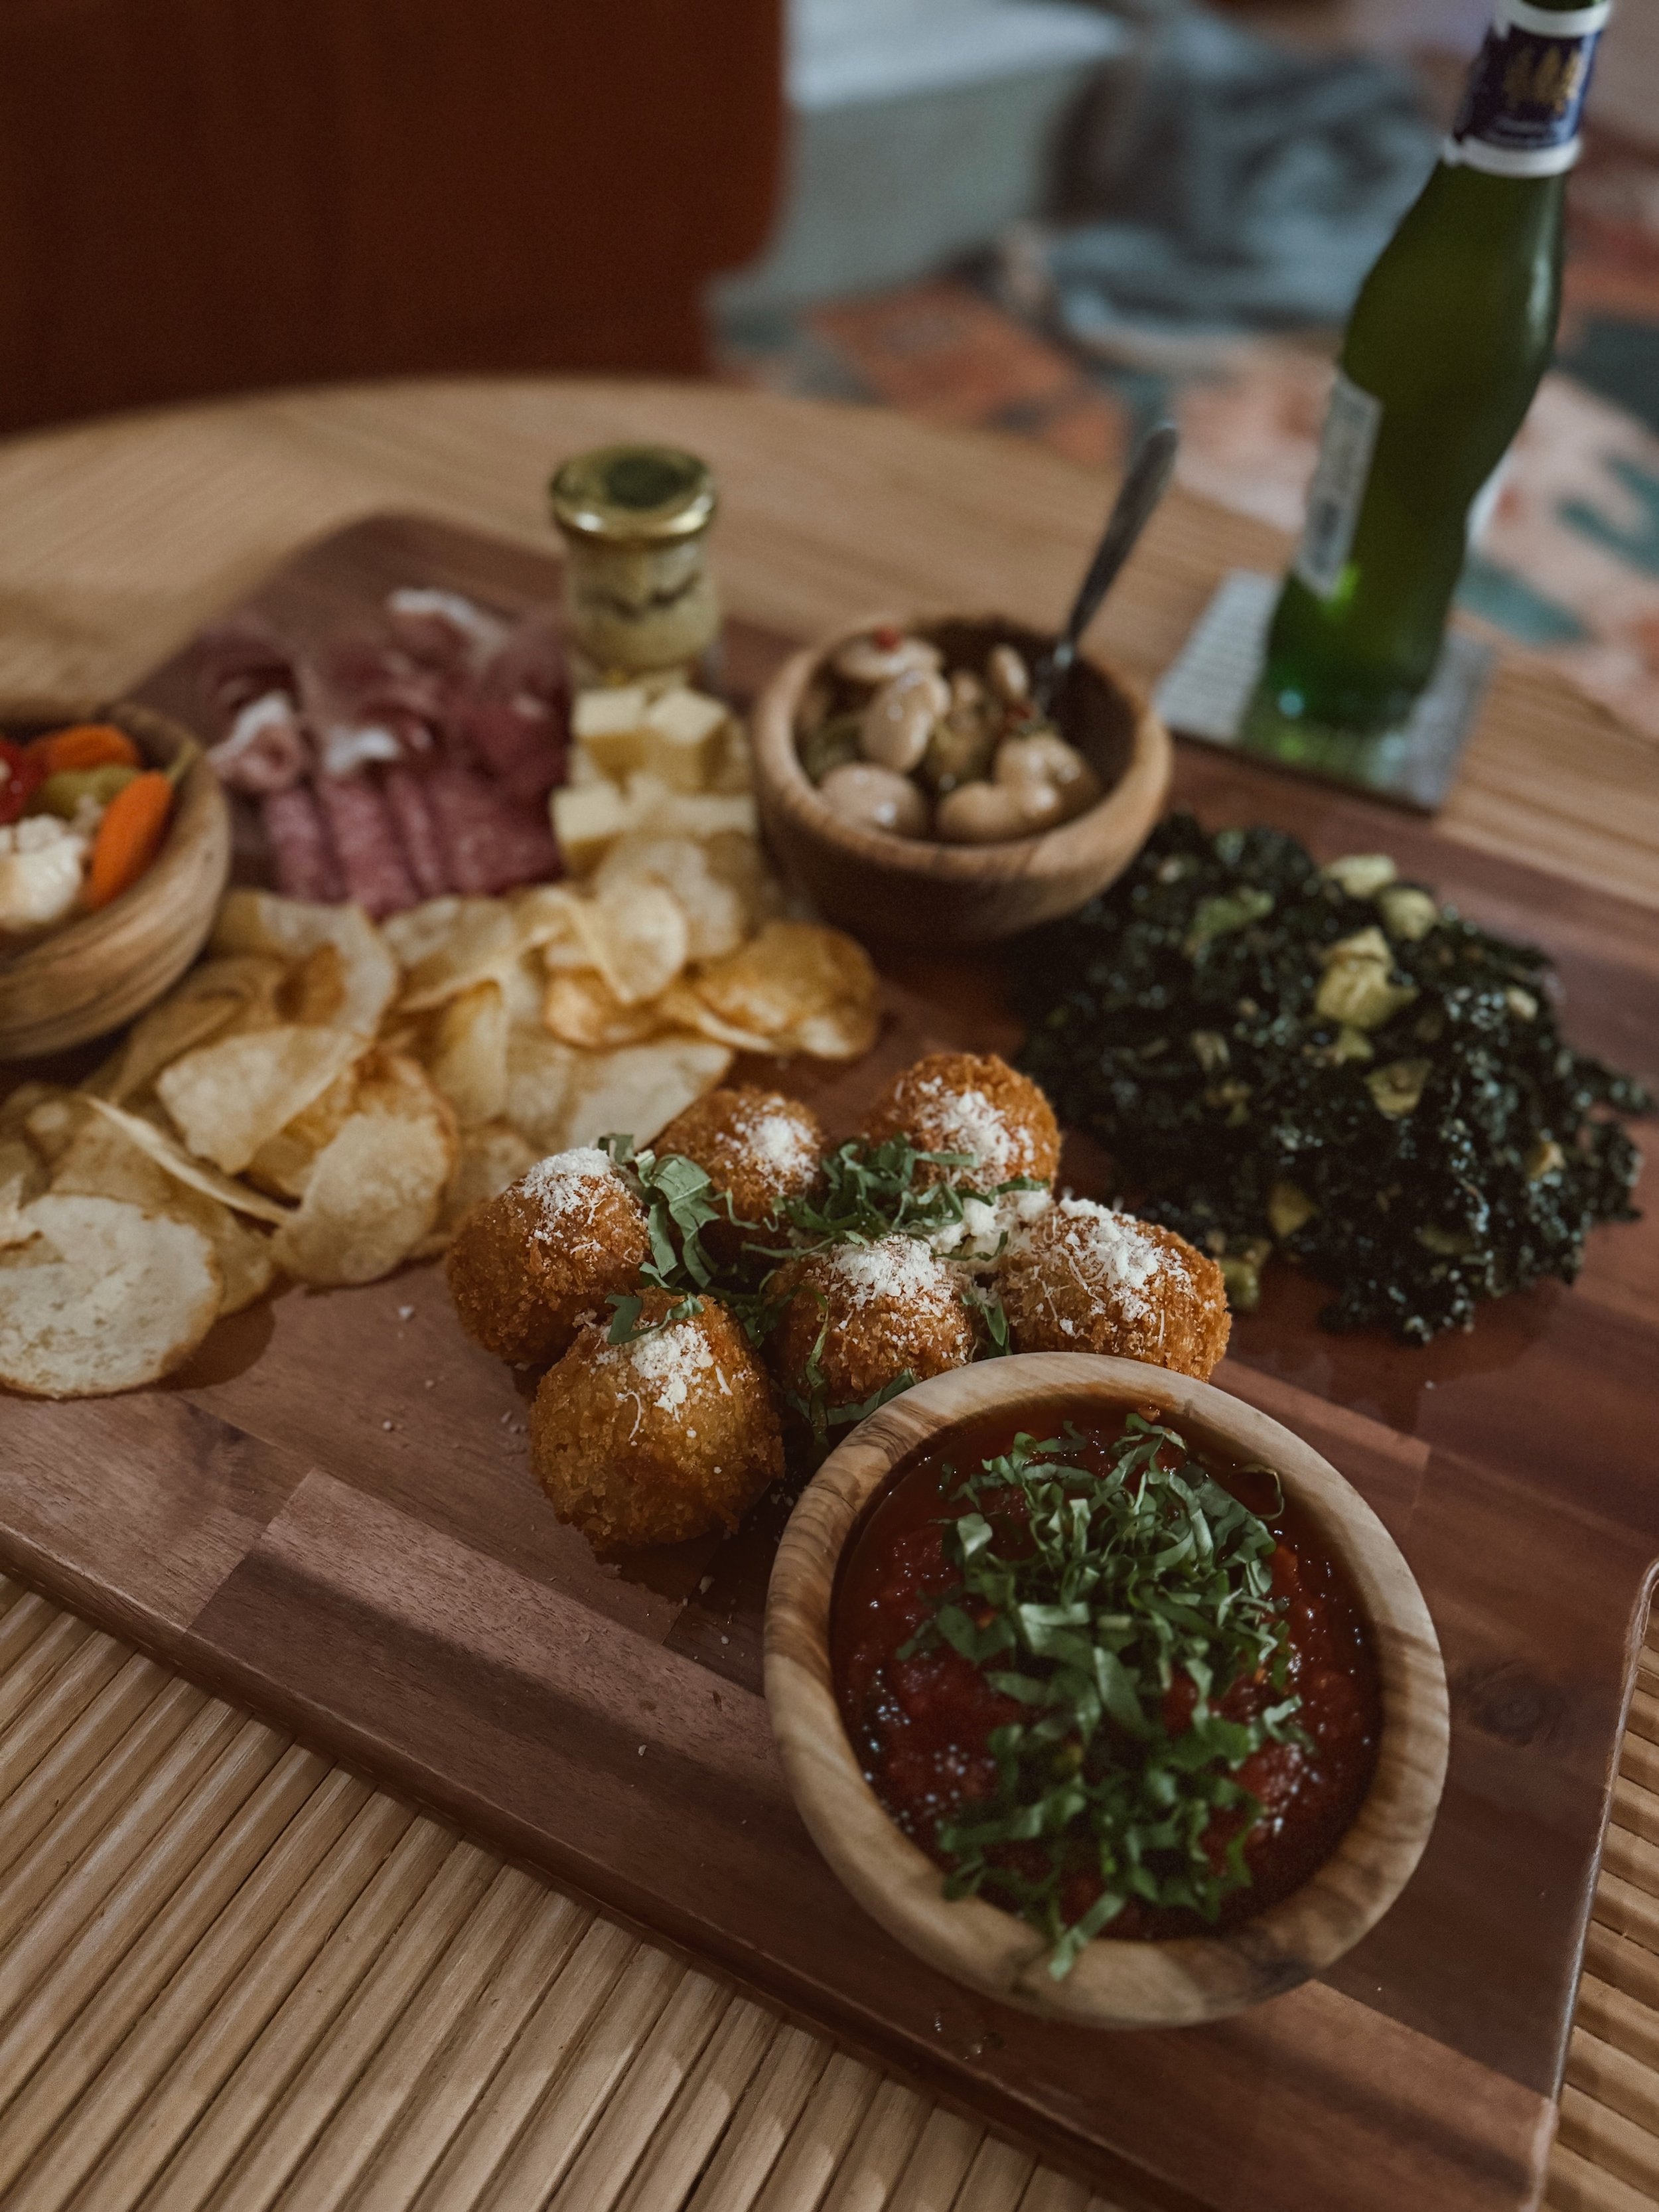
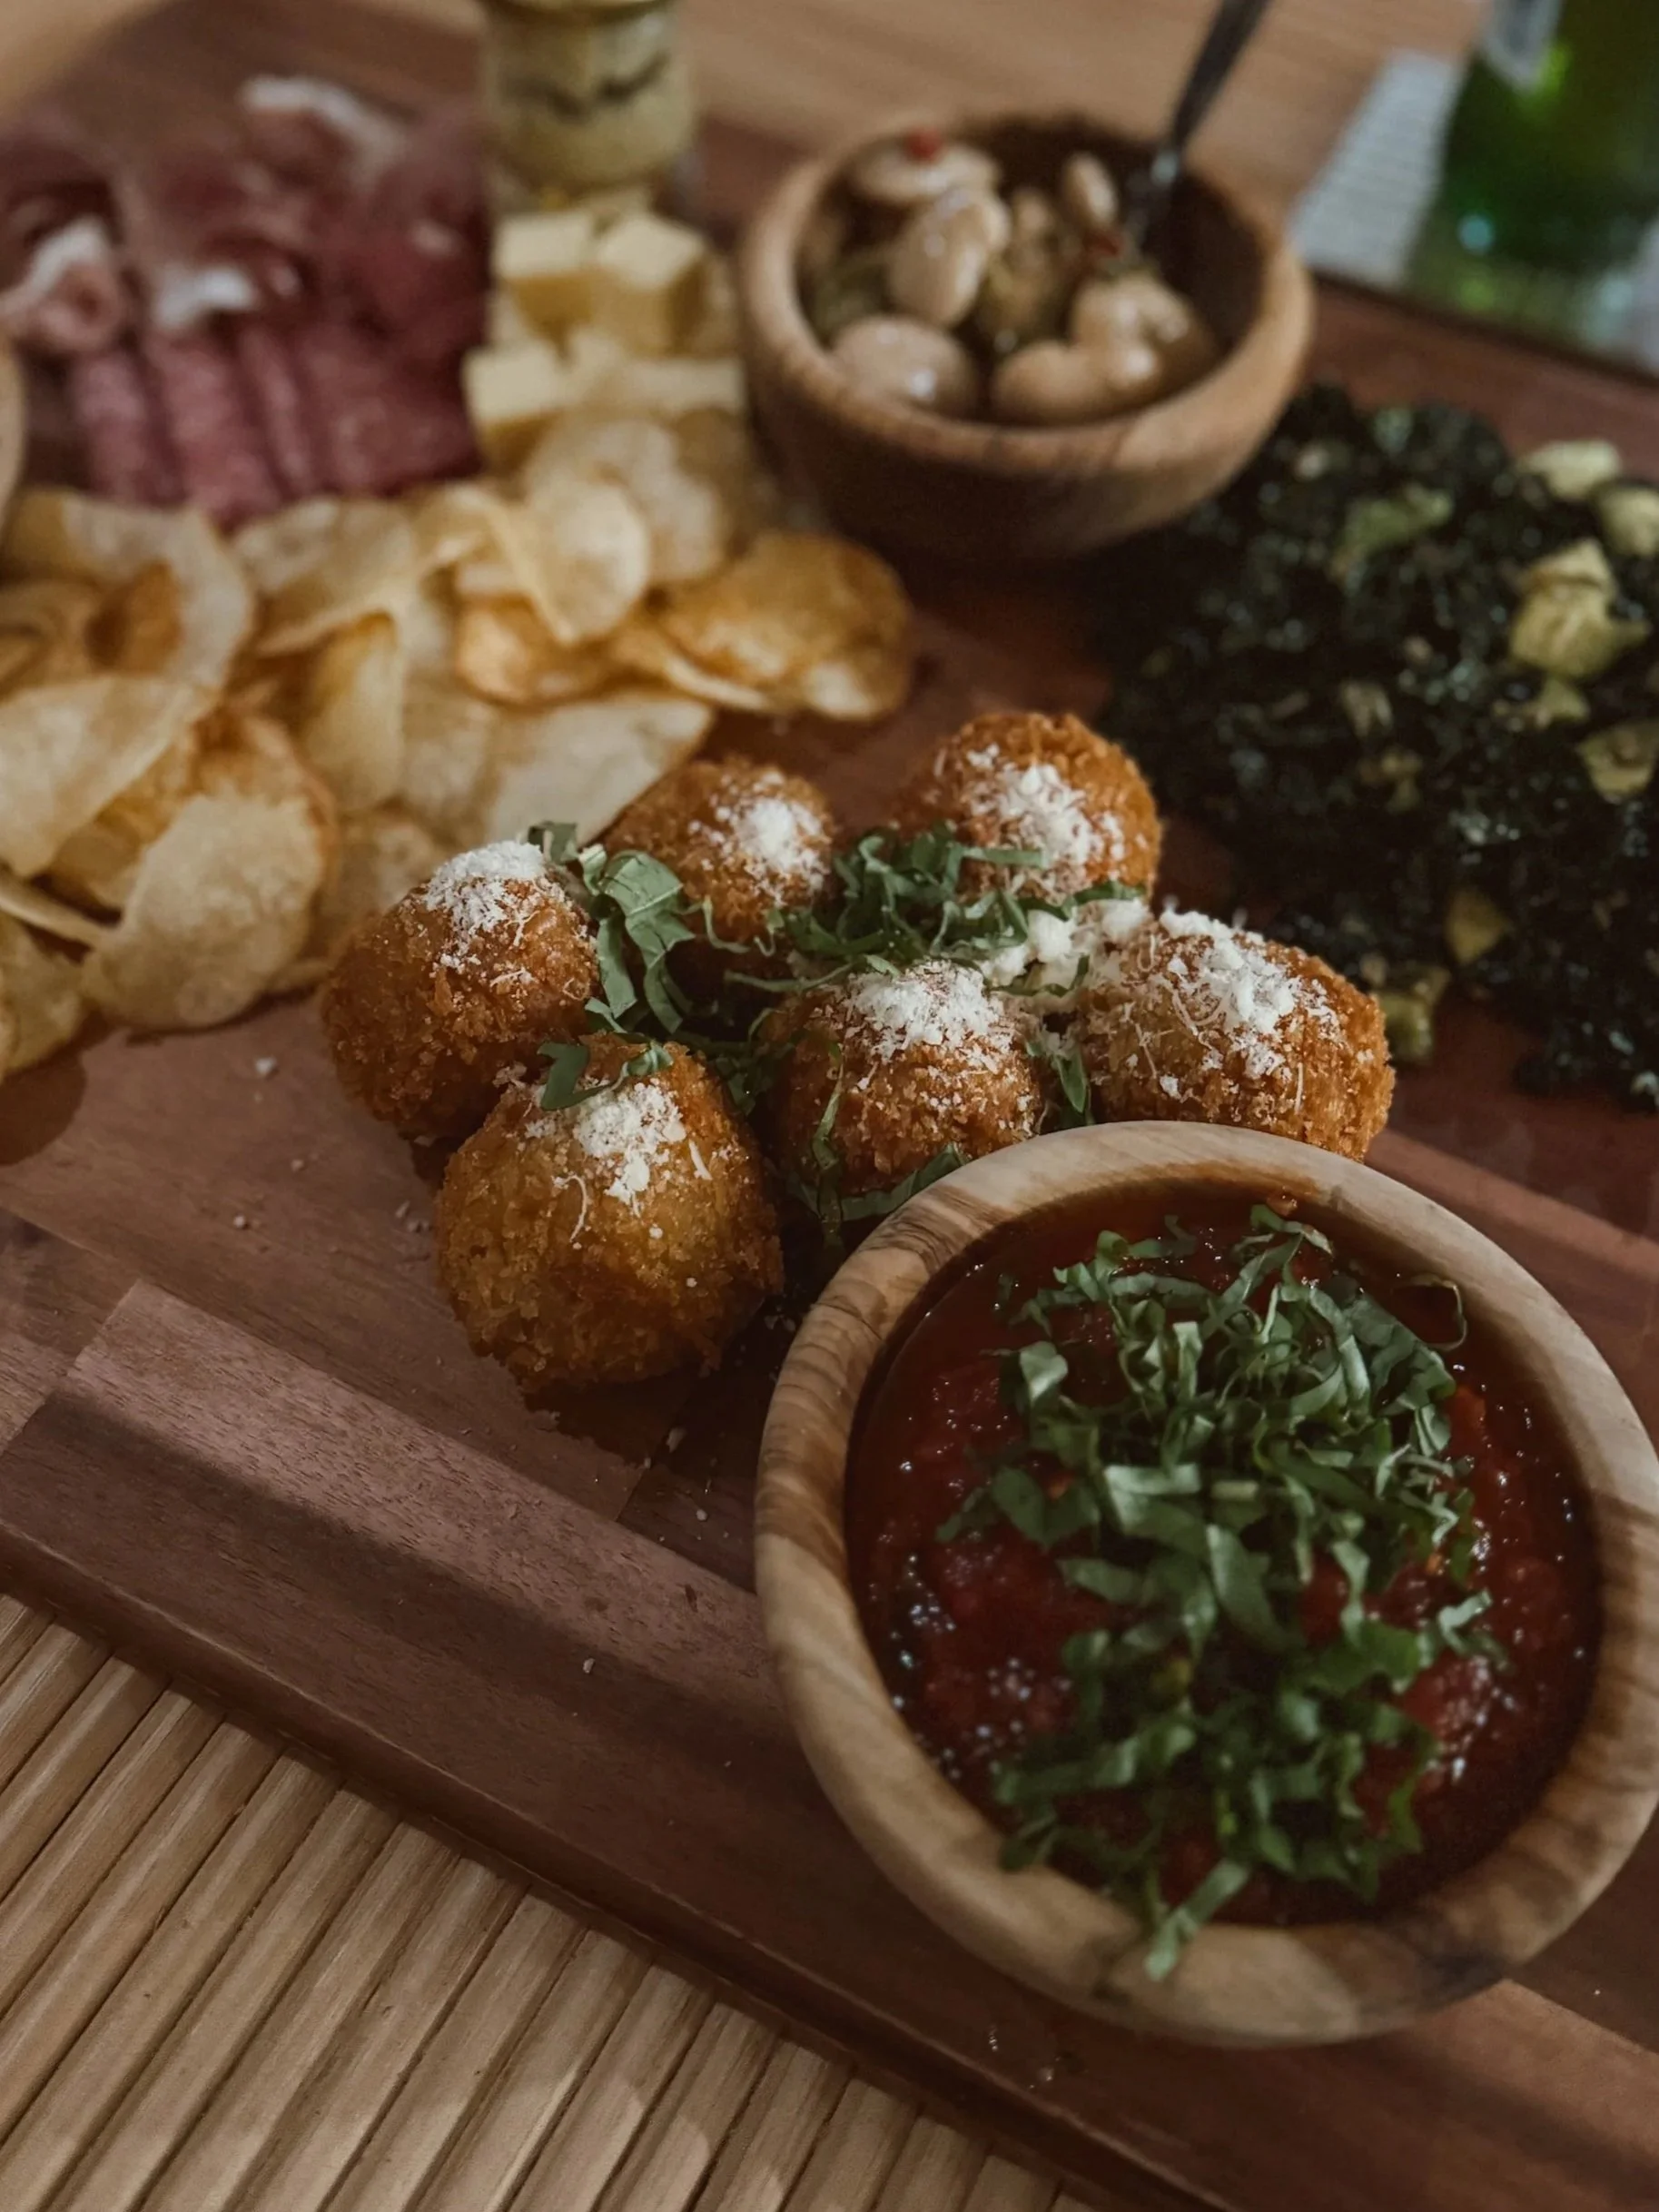
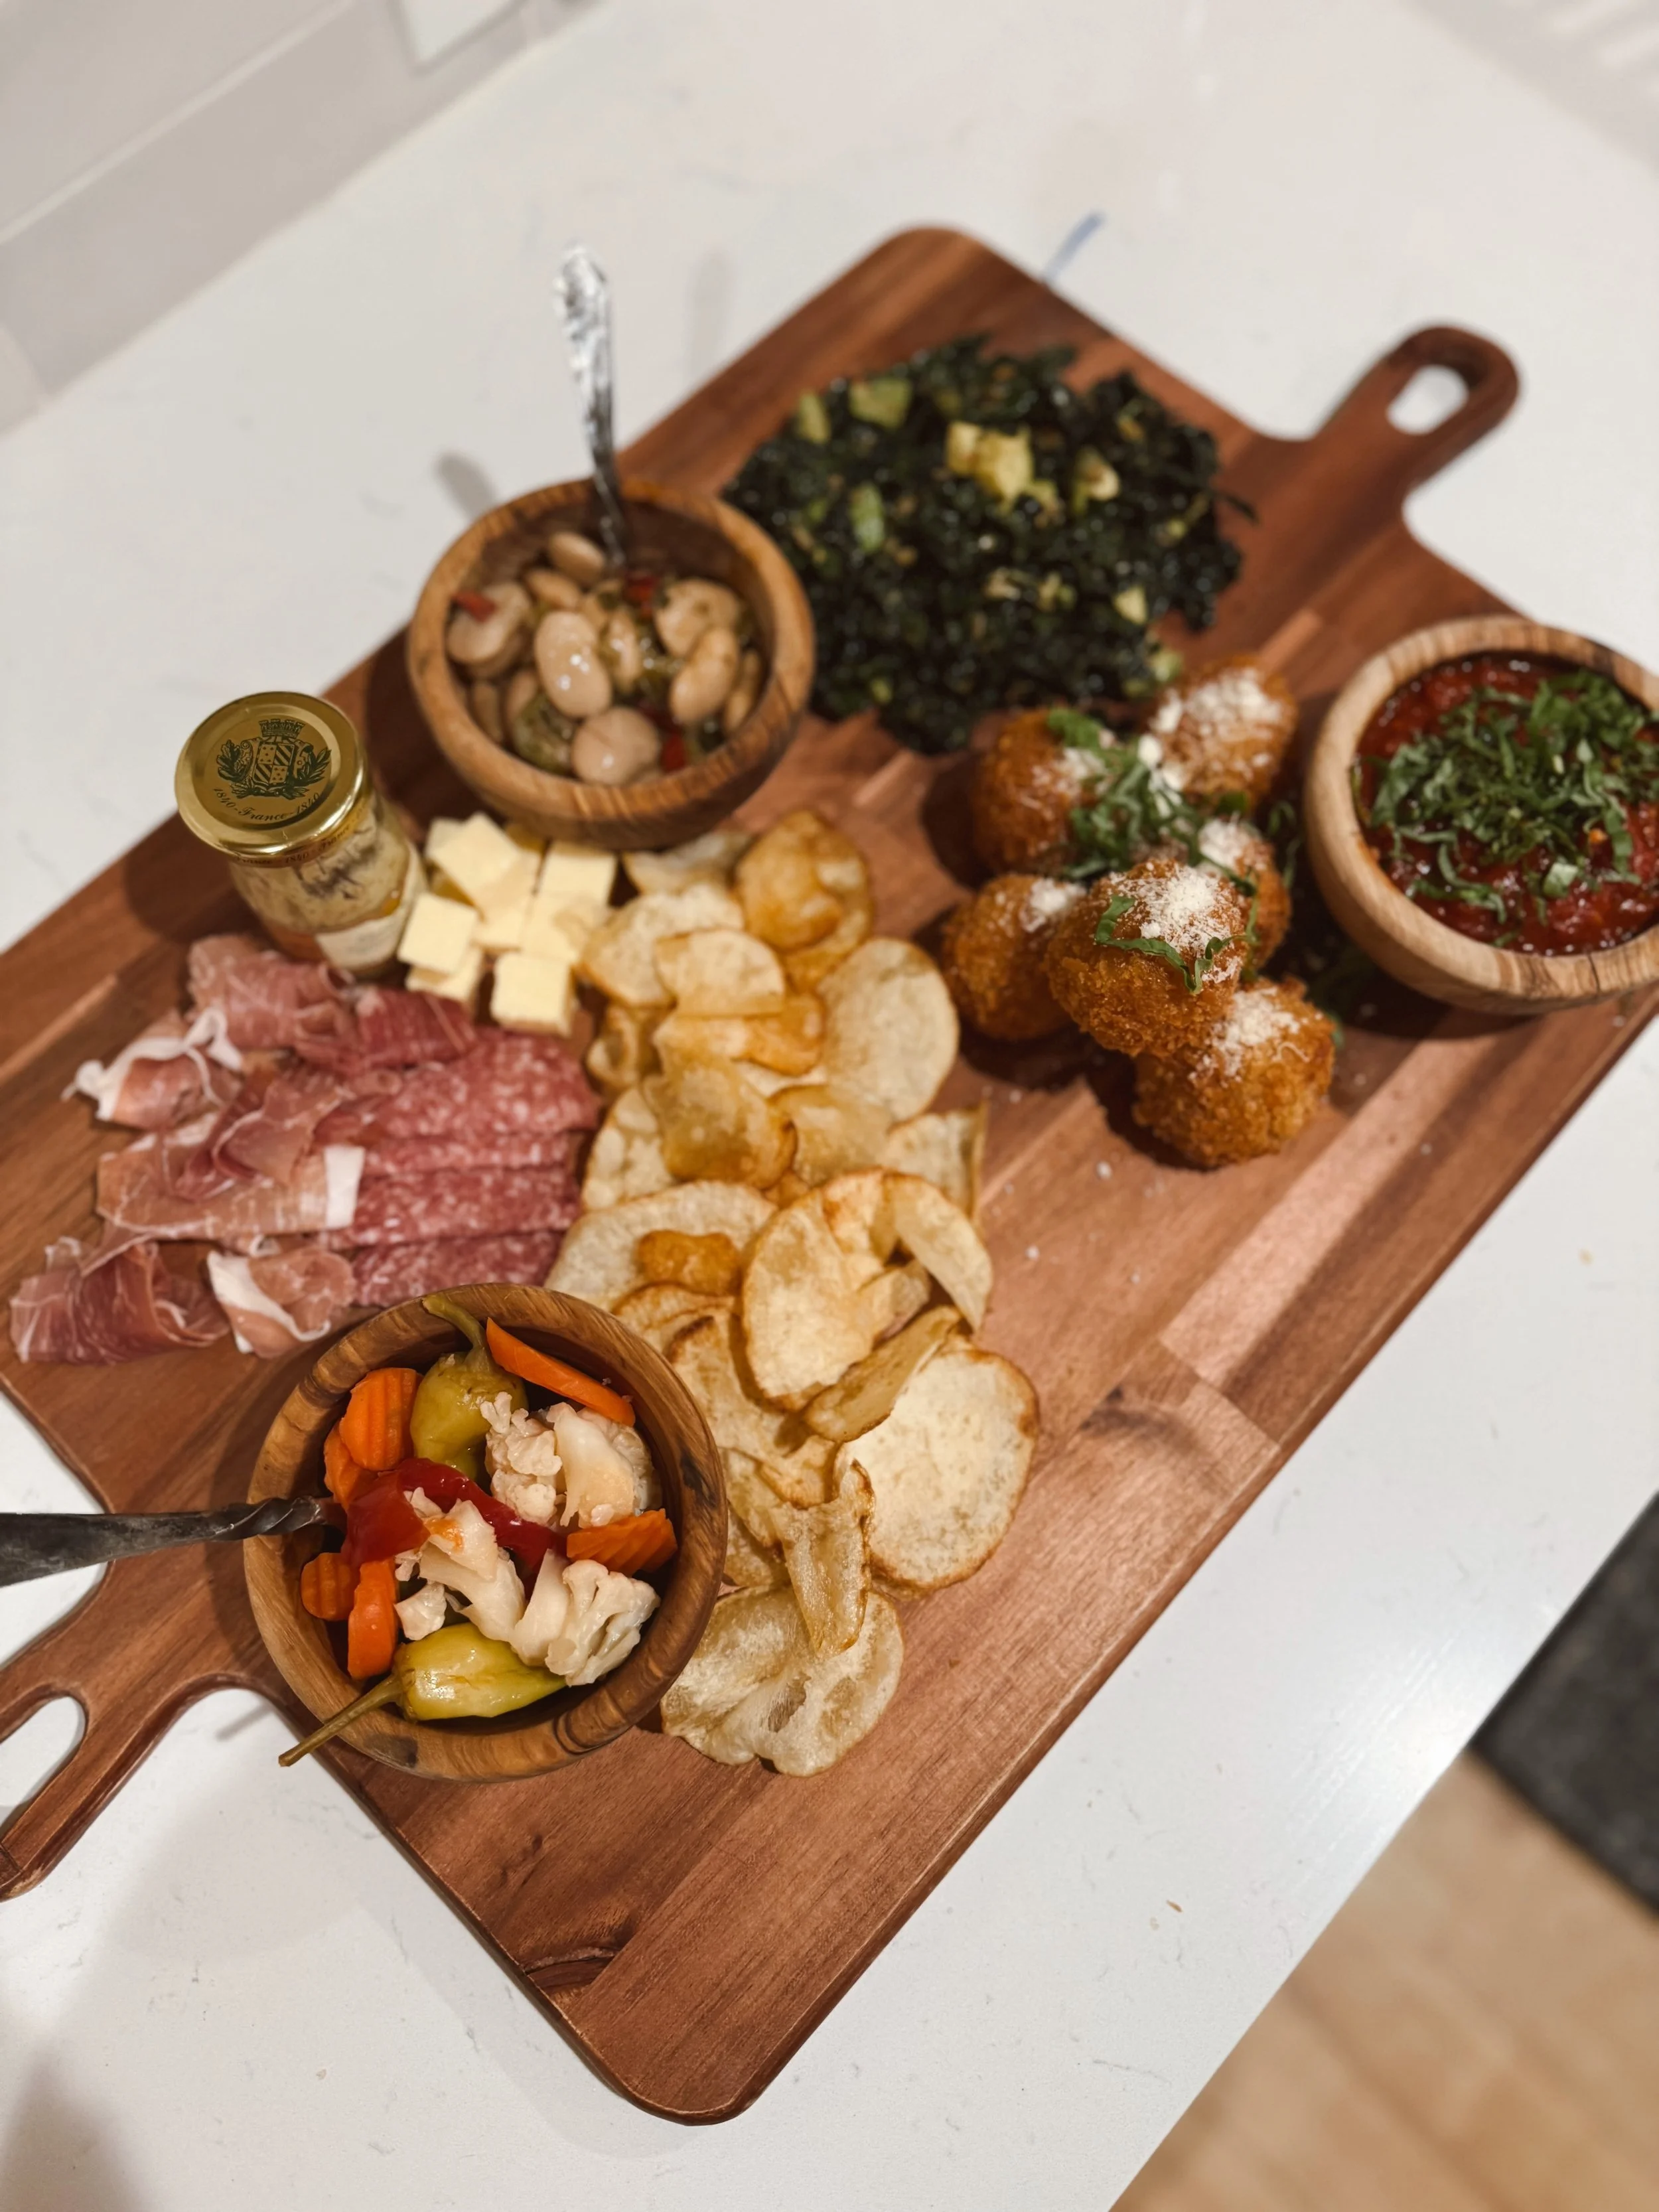
Honestly the best part of this whole situation was serving these board style. Making a premium antipasto board stacked with all my favorite things. Prosciutto, salami, a couple fun cheeses, + my favorite marinated veggies. I even saved some gourmet truffle potoato chips for this (we have a local maker that sells these, but I know you can find them at some specialty stores). Highly recommend getting your hands on a bag of these. The arancini were the star of the show - served warm with a little red sauce. The perfect “main” for a night of snacking and tv watching.
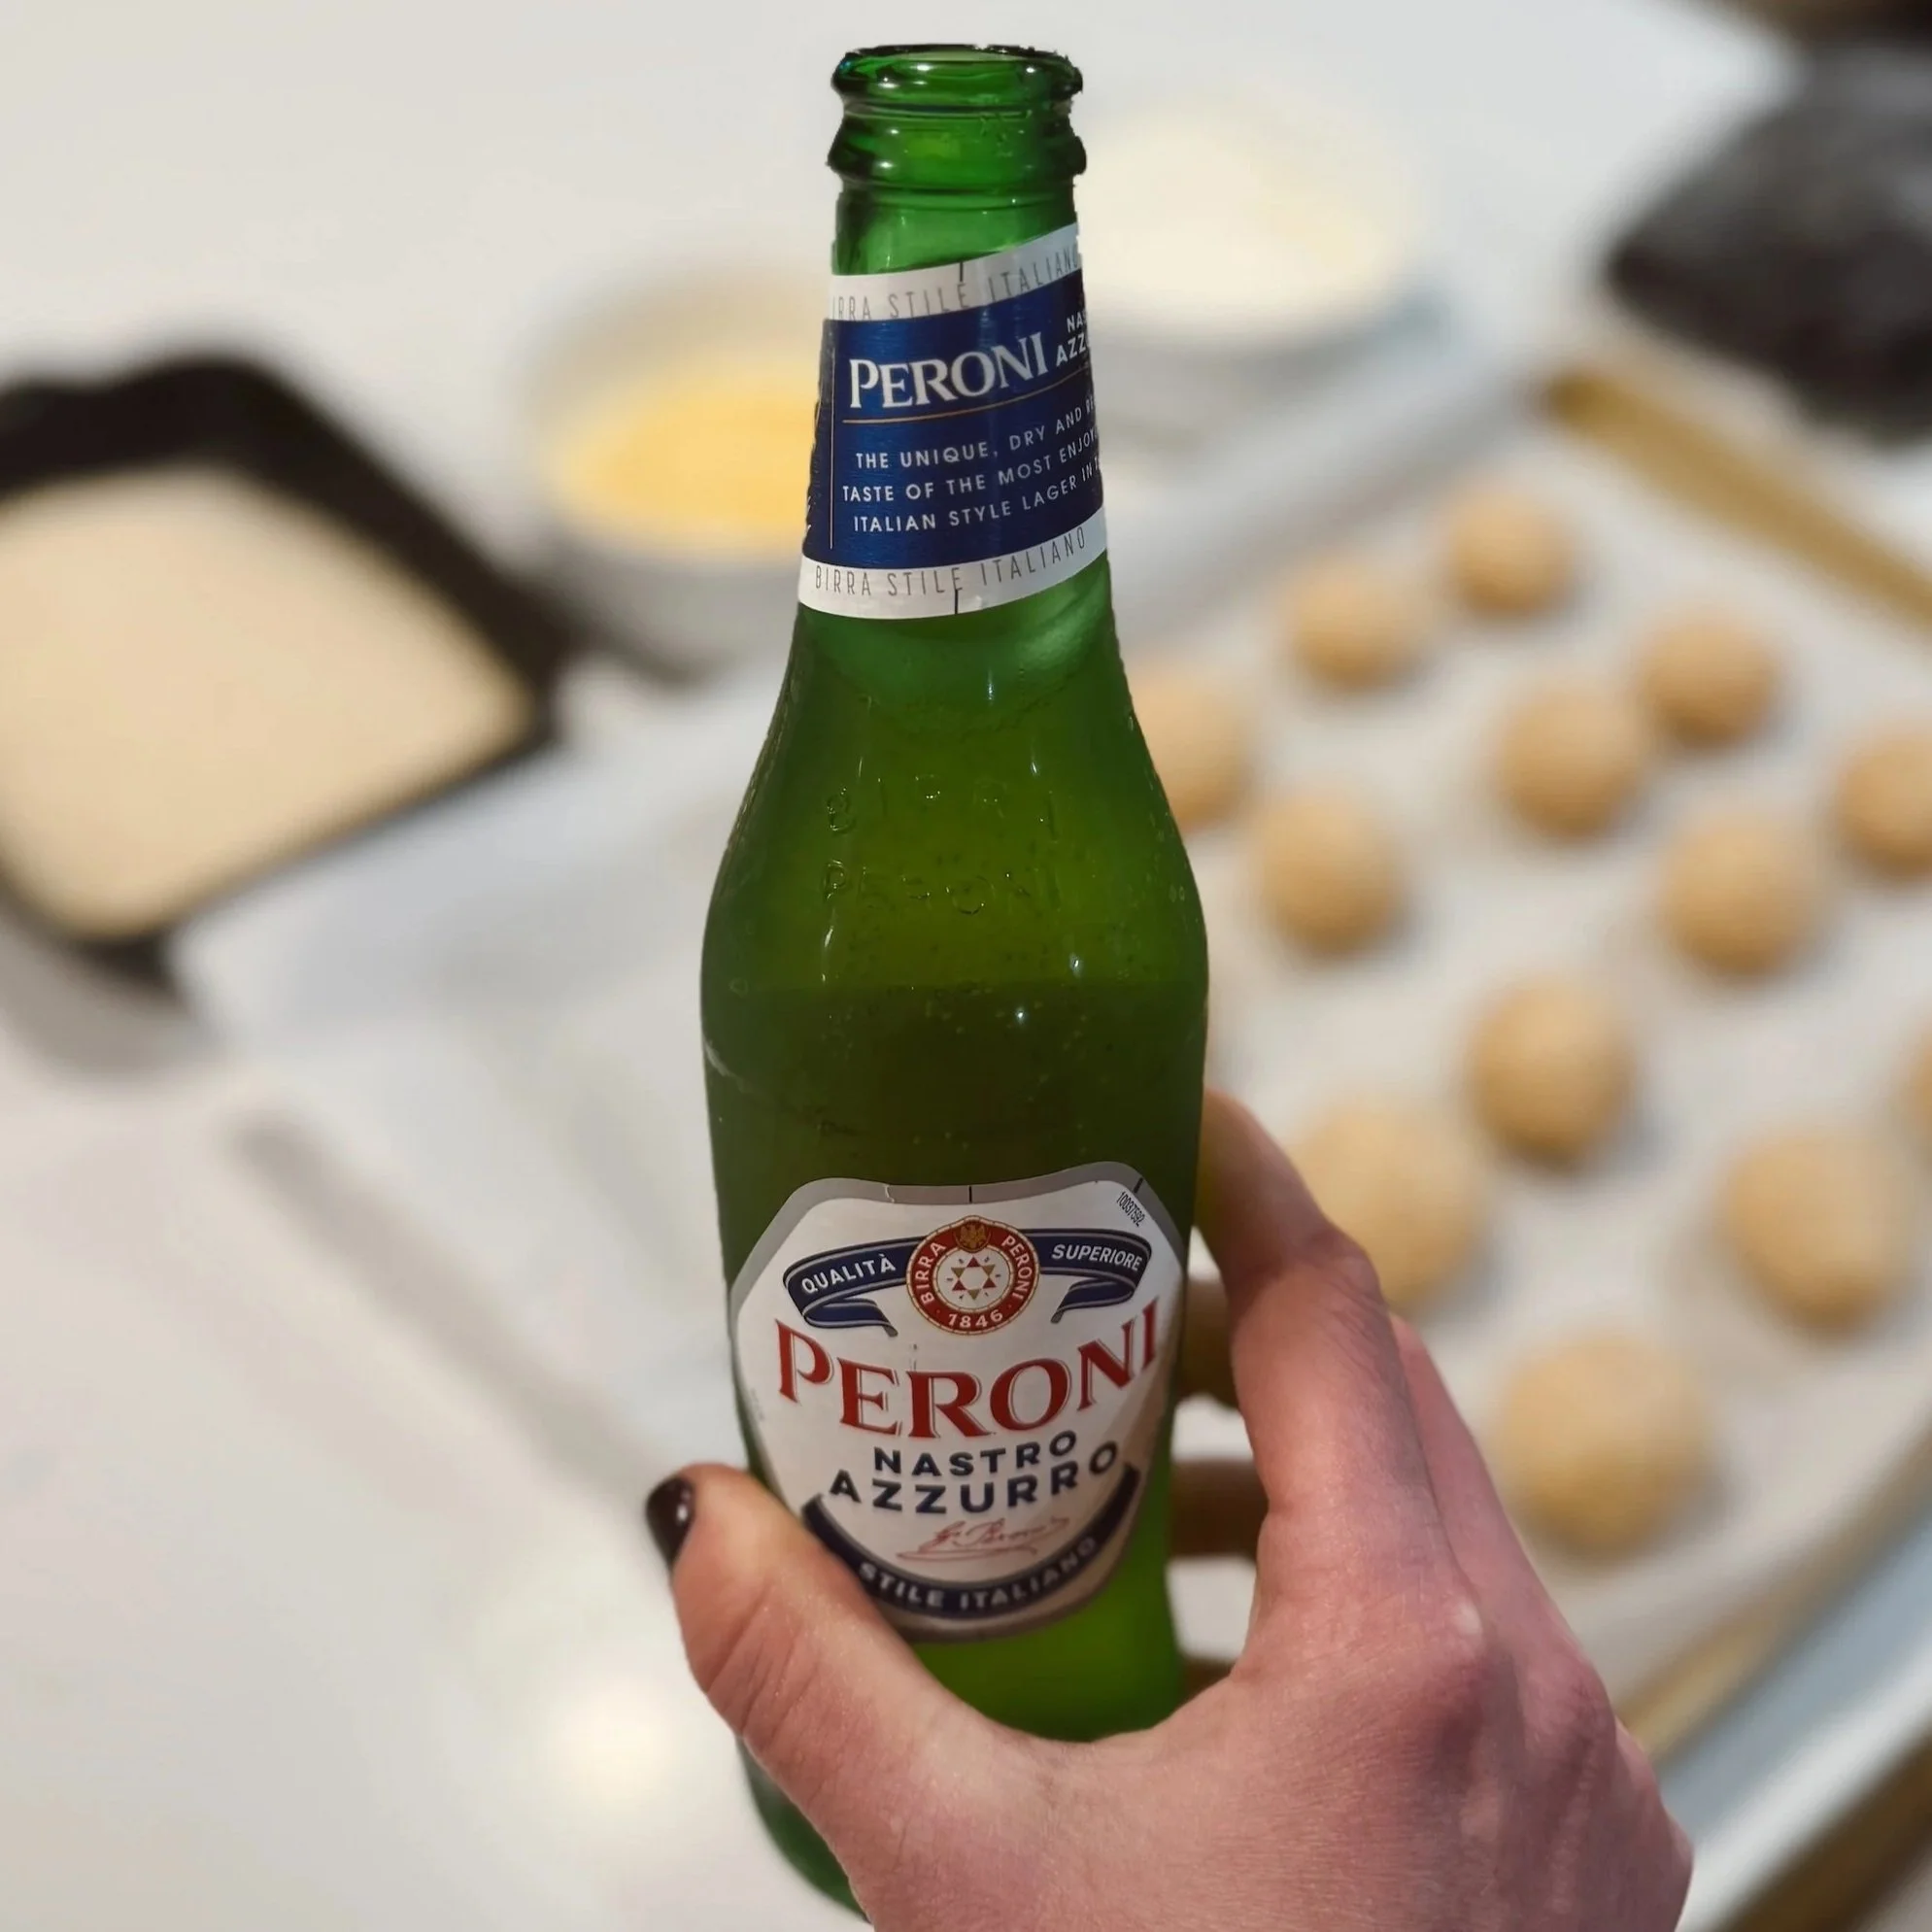
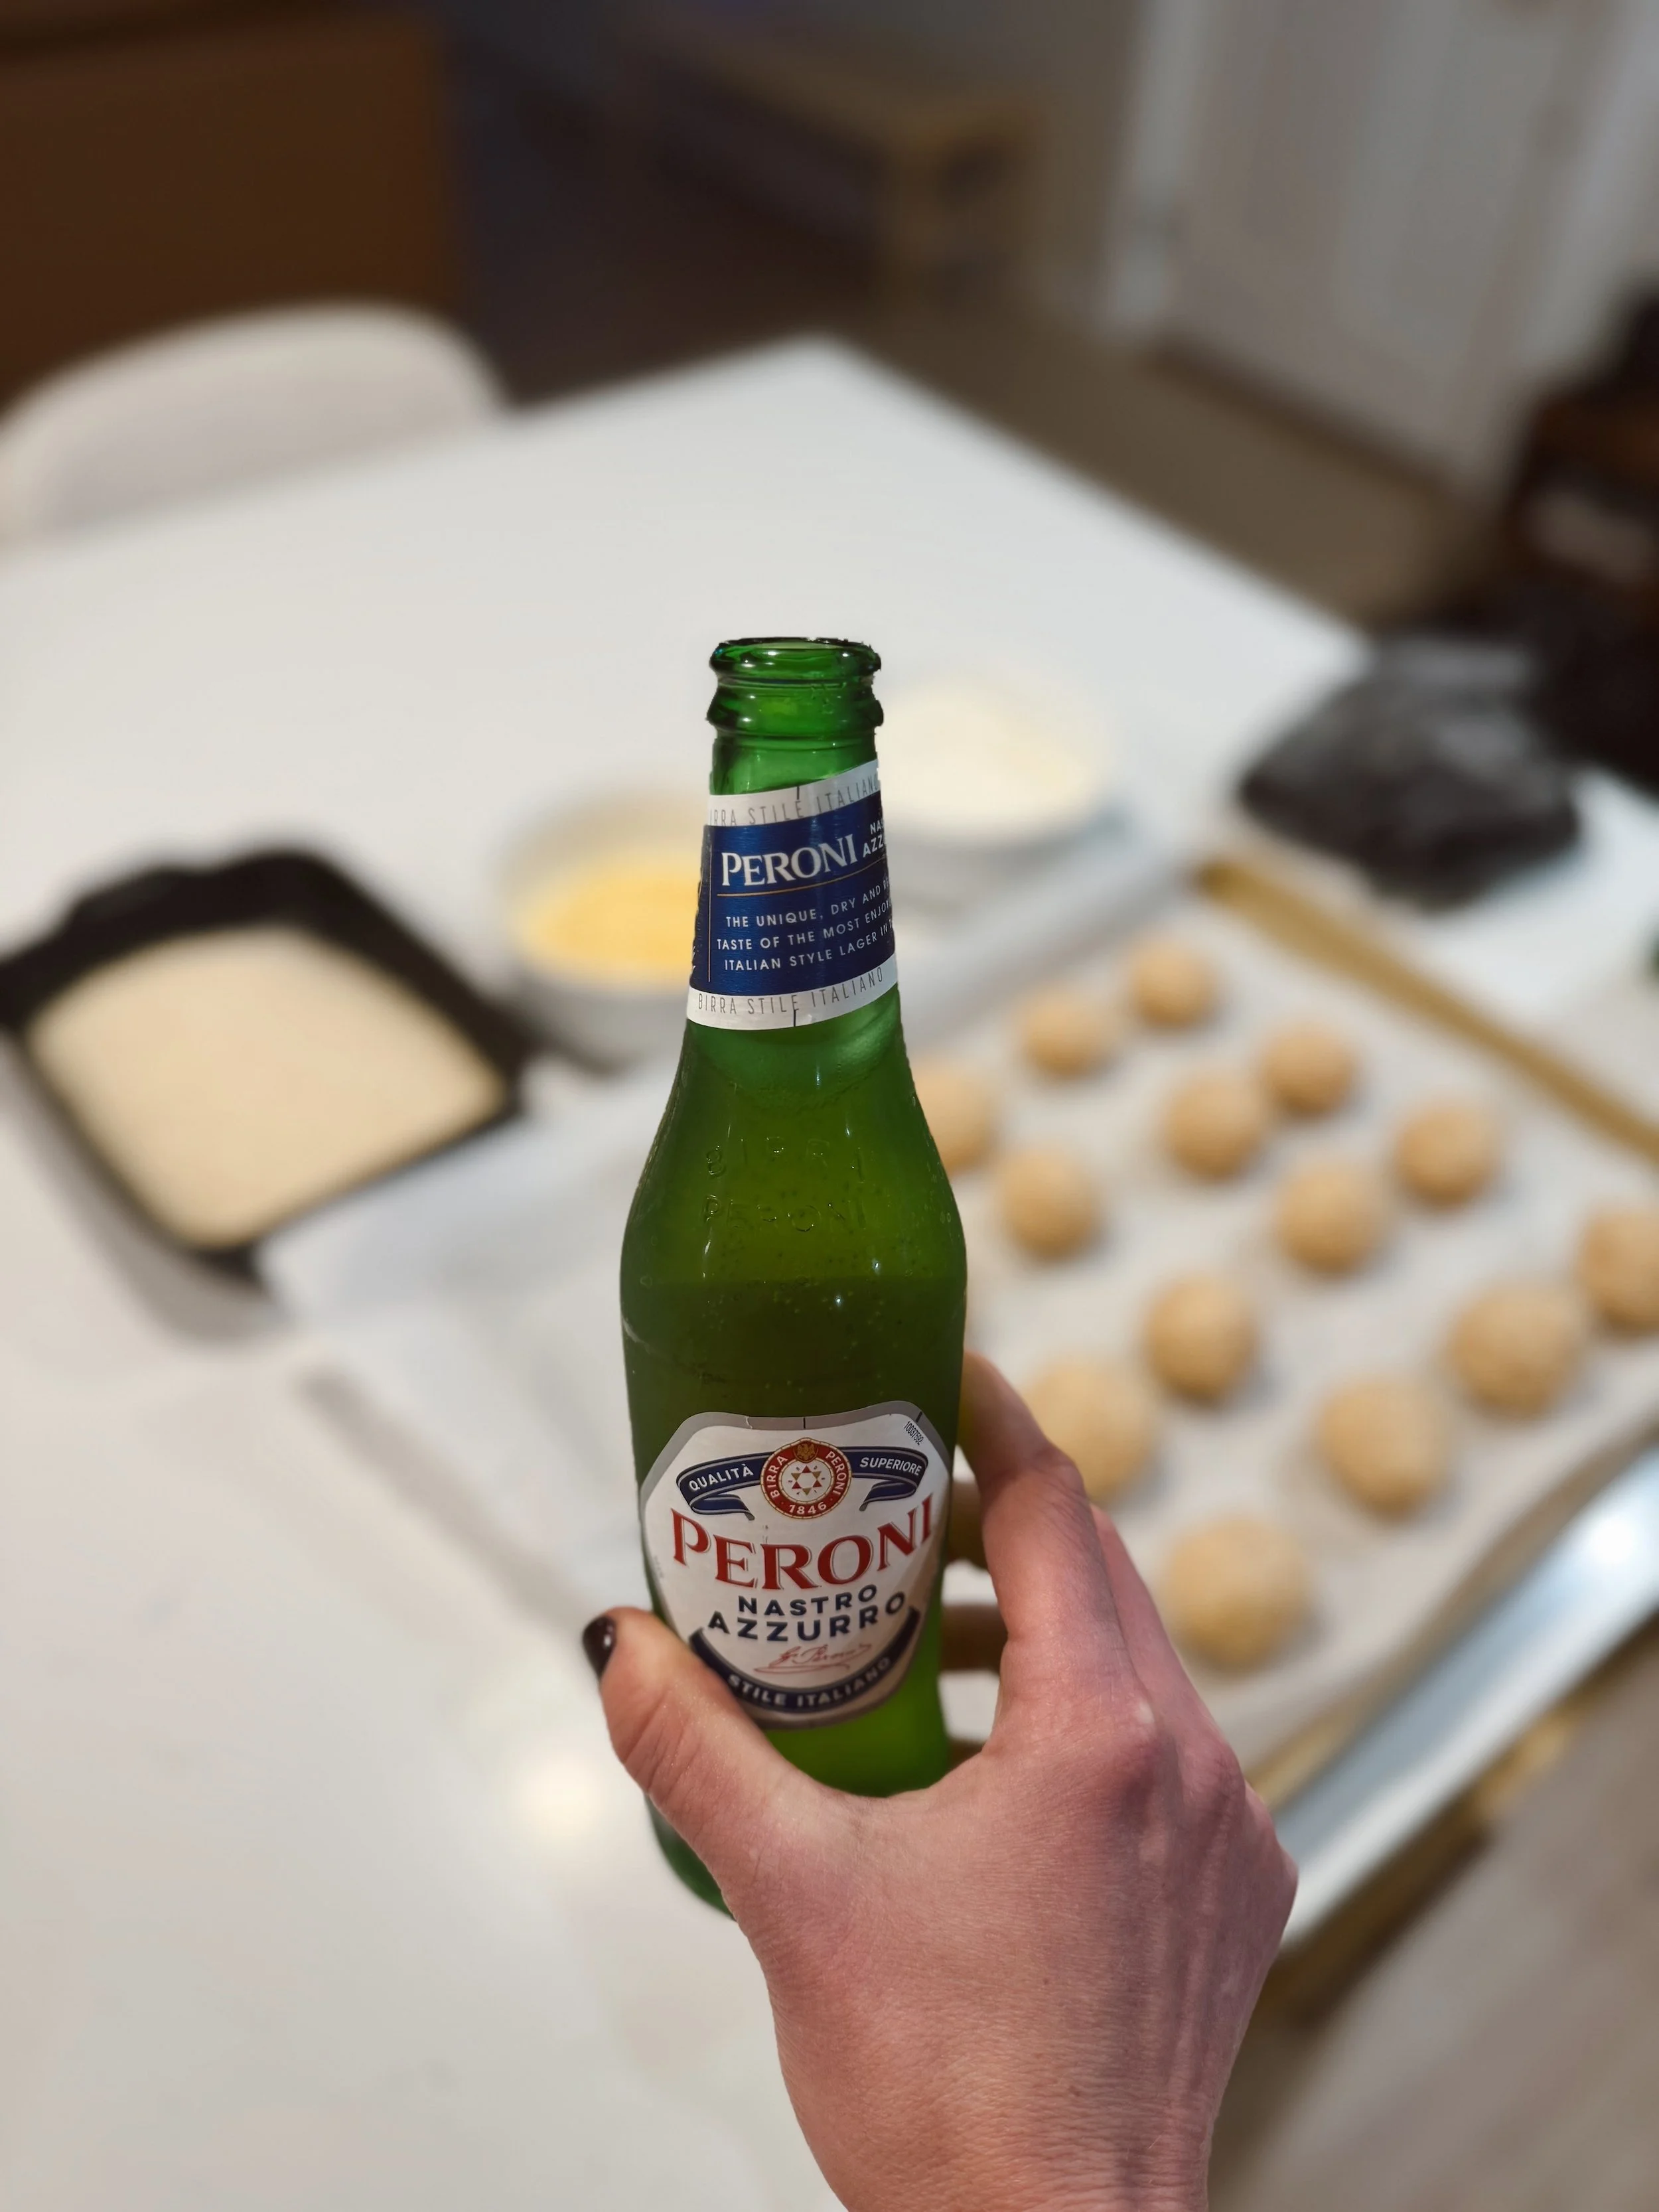
The final element - a couple cold Peroni’s. How could I not? A premium Sunday night happy hour at home. From making them to eating the final product - I enjoyed every step. I even sent photos to my very Italian friend whose family traditions heavily influenced this arancini fixation, and it meant the world to get her stamp of approval.
For the risotto
4 tbsp butter
1 yellow onion, finely diced
3 cloves garlic, minced
1 c. arborio rice
1/2 c. dry white wine
3 1/2 c. chicken stock
1/4 c. mascarpone
1 c. parmesan
1 lemon, juiced
Salt + pepper
Low moisture mozzarella, cut into small cubes (you won’t need too much)
1/2 c. flour
2 eggs
2 c. panko
Canola oil (for frying)
For serving: warm marinara sauce
Items for your board: truffle potato chips (highly recommend), your favorite meta + cheeses, olives, marinated beans, and your favorite antipasto items
Start by making the risotto. Place a large skillet over medium heat + add in the butter. Once melted, add in the garlic + onion, cooking until the onions are tender. Cook the onions for about 10 minutes, reducing the heat if the onions start to brown. Add in the rice, toasting for 1 minute. Stir in a sprinkle of salt + pepper. Increase the heat back to medium + deglaze the pan with the wine. When the wine has reduced, add in a 1/2 cup of the broth, cooking on medium low until all broth has been absorbed. Repeat this process, adding in the broth just a 1/2 cup at a time, until all of the broth has been added in. Stir in the lemon juice, mascarpone, and parmesan. Continue to stir the risotto over medium low heat until the cheese has fully melted into the risotto. Turn off the heat + transfer the risotto to a baking dish. Spread in an even layer, cover with plastic wrap, and place in the refrigerator overnight.
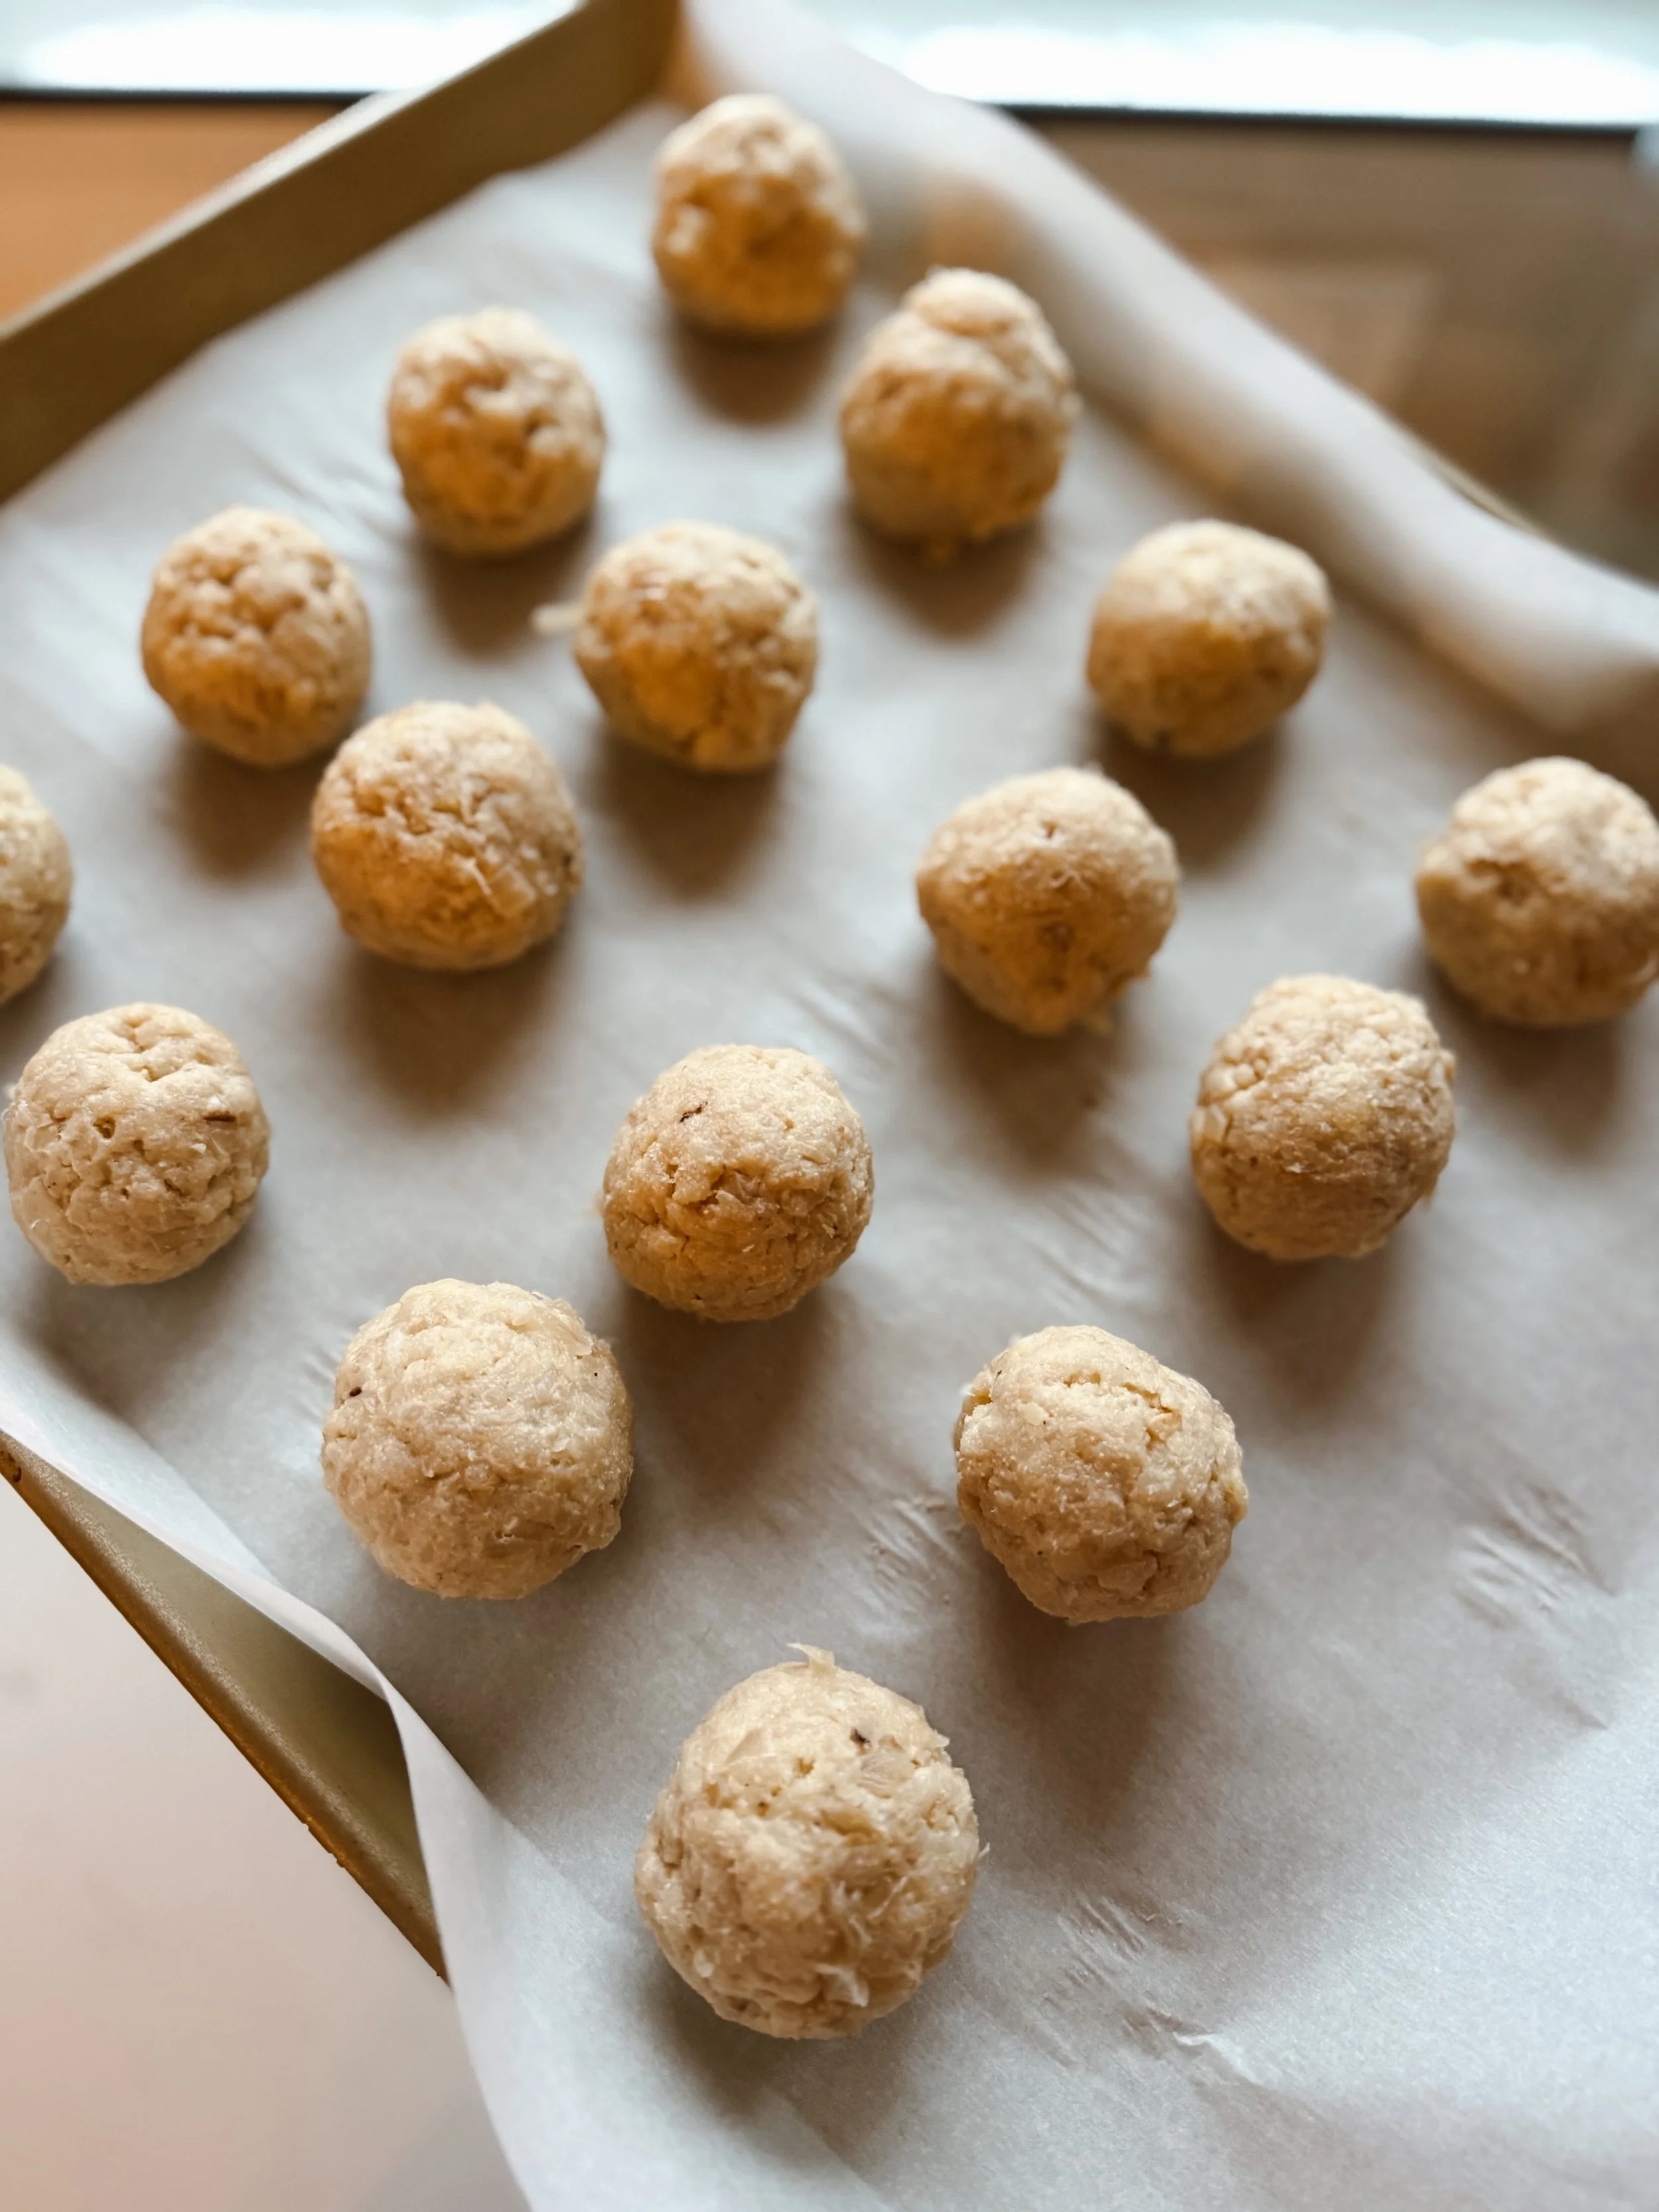
After a night of chilling, you’re ready to make the arancini. Get out 3 shallow bowls, placing flour in one, panko in another, & the eggs in another. Whisk the eggs. To assemble the arancini balls, use a cookie scoop to scoop up the chilled risotto - about a 1/4 cup for each arancini ball. Scoop the risotto into your hand and gently pat the risotto in a small disk, placing a piece of cheese in the center. Wrap the risotto around the piece of cheese - reforming the risotto into a ball and rolling it in your hands to pack it together. Once you’ve formed all of the risotto into these cheese filled balls, work one ball at a time to dredge them in flour (dusting off the excess flour), dipping in the egg mixture, and then rolling in the panko. Place the panko coated risotto balls back onto the baking tray.
Fill a large Dutch oven with canola oil - just enough to fill the pan 1 inch high. Heat the oil to 350. Add 5 risotto balls to the oil at a time - cooking them for 6-8 minutes and flipping half way through. The balls should immediately start to bubble when they hit the oil. Once cooked to a deep golden brown color, place the arancini balls on a paper towel lined baking sheet.